Applies to: Web Payments SDK
Learn how to add Cash App Pay as a payment method to an application.
Cash App Pay lets customers seamlessly pay with their Cash App account, enabling a fast and familiar checkout experience using a mobile payment application. You can add Cash App Pay to your customer online checkout flow built on the Web Payments SDK.
The following video demonstrates how to implement Cash App Pay. For a detailed overview of building with the card payment method, see the following sections.
Learn how to add a Cash App Pay payment method to the application you built using the quickstart project sample in Web Payments SDK Quickstart to integrate the Web Payments SDK into your application.
The following steps add code to the application you created from the quickstart project sample. If you haven't created an application using the quickstart, you need to do so before completing these steps.
You can find a complete example of the Cash App Pay code on GitHub.
- Cash App Pay is currently supported only in the United States. If you implement Cash App Pay for a seller that is based outside of the US, the Cash App Pay button and payment method doesn't render in your application.
- Cash App Pay currently doesn't support changing or updating the options specified in a PaymentRequest object. This limitation occurs when the browser displays the Google Pay payment sheet for the buyer.
- CBD sellers cannot take Cash App payments.
The Cash App Pay payment method needs information about the buyer and the payment amount before it can open the Cash App payment sheet. Your application creates a PaymentRequest object to provide that information and then gets a new CashAppPay object initialized with it.
The following code creates the payment request and attaches the Cash App Pay payment method to the page:
Add an HTML element to the prerequisite walkthrough form with an
idofcash-app-pay. The HTML for the body of index.html should look like the following:<form id="payment-form"> <!-- Add the cash-app-pay button div below --> <div id="cash-app-pay"></div> <div id="card-container"></div> <button id="card-button" type="button">Pay $1.00</button> </form> <div id="payment-status-container"></div>Add the following two functions to your script tag:
  function buildPaymentRequest(payments) {
    const paymentRequest = payments.paymentRequest({
      countryCode: 'US',
      currencyCode: 'USD',
      total: {
        amount: '1.00',
        label: 'Total',
      }
    });
    return paymentRequest;
  }

  async function initializeCashApp(payments) {
    const paymentRequest = buildPaymentRequest(payments)
    const cashAppPay = await payments.cashAppPay(paymentRequest,{
      redirectURL: 'https://my.website/checkout',
      referenceId: 'my-website-00000001',
    });
    await cashAppPay.attach('#cash-app-pay');
    return cashAppPay;
  }
The
initializeCashAppfunction requires aredirectURLvalue to indicate where to send buyers after completing a payment on a mobile device. TheredirectURLvalue is only for mobile payments and isn't used for desktop QR payments.You can also include the optional
referenceIDpayment identifier value for internal developer use. For example, you use areferenceIdvalue to associate the payment with an internal resource.In the
DOMContentLoadedevent listener, add the following code after you initialize the Cash App Pay payment method:let cashAppPay; try { cashAppPay = await initializeCashApp(payments); } catch (e) { console.error('Initializing Cash App Pay failed', e); }
Test the application
Navigate to http://localhost:3000/ in your browser.
Checkpoint 1: You should see the Cash App Pay button rendered on your page.
Add the following code after // Checkpoint 2 in the DOMContentLoaded event listener function to listen for the ontokenization:
cashAppPay.addEventListener('ontokenization', function (event) {
  const { tokenResult, error } = event.detail;
  if (error) {
    // developer handles error
  }
  else if (tokenResult.status === 'OK') {
    // developer passes token to backend for use with CreatePayment
  }
});
This event fires when a buyer authorizes a payment in Cash App, is taken back to the merchant website redirectUri (if mobile), and a payment token is ready.
Note how Cash App Pay has its own event listeners on the PaymentRequest object and how these event listeners have their own specific callbacks. For more information, see addEventListener.
Test the application
Test the Cash App payment flow from the browser in a sandbox environment.
The following animation shows the Cash App Pay payment flow:
Important
When you test the Cash App and Web Payments SDK integration in a production environment, you can use both the Cash App camera and the smartphone camera to scan the QR code. When you test the payment flow in a sandbox environment, the sandbox environment only supports using the smartphone camera to scan the QR code.
Navigate to http://localhost:3000/ in your browser.
Click the Cash App Pay button.
You should see the Cash App Pay dialog box appear with the QR code.
Using your smartphone's camera, scan the QR code in the dialog box.
On your smartphone's web browser at sandbox.api.cash.app, the application displays a dialog box requesting permission to approve or decline the request to link the account.
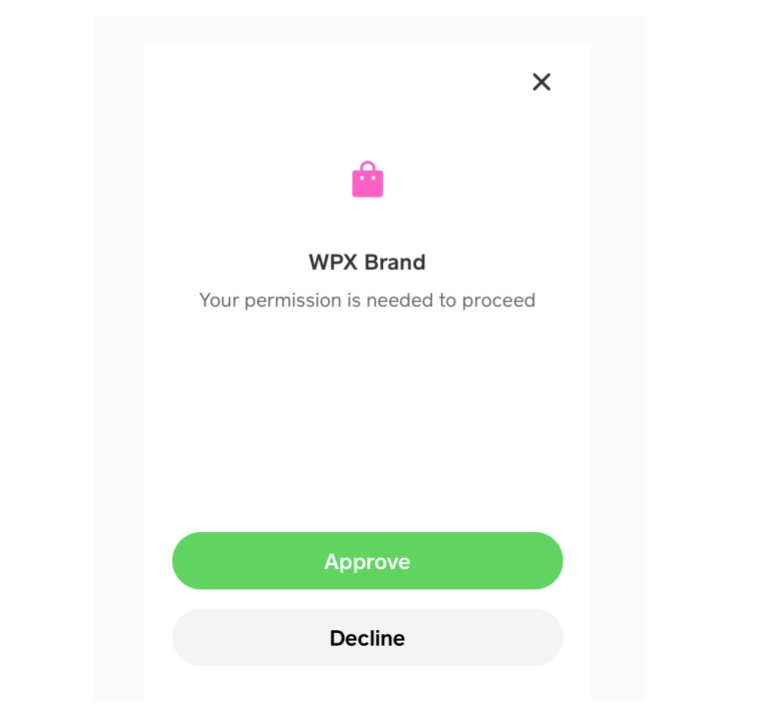
- Tap Approve to link the account.
Checkpoint 2. You should receive a confirmation that the account has been linked.

The payment token that your application generated for a Cash App Pay payment is processed on your backend in the same way a payment token from one of the other payment methods is processed, with some exceptions. To learn about the specific processing requirements, see Cash App Payments.
The Pay Kit JavaScript SDK includes methods to present the Cash App Pay payment method and controls for handling payment requests. The SDK also provides advanced controls for situations where you need to validate customer information or customize the Cash App Pay checkout experience.
For more information, see Cash App's technical reference for Pay Kit use cases.