Applies to: Web Payments SDK
Learn how to add an Afterpay and Clearpay payment method to an application.
You can add Afterpay and Clearpay payment methods to the application you built using the quickstart project sample in Web Payments SDK Quickstart to integrate the Web Payments SDK into your application.
Did you know?
- Afterpay is known as Clearpay in the UK. The Web Payments SDK code refers to the payment methods as
Afterpay/Clearpay. The Afterpay name is used unless otherwise noted. - Afterpay is now available within Cash App as Cash App Afterpay, allowing buyers to pay over time on purchases using a Cash App account. The Afterpay branding assets used to build the Afterpay payment method have been updated to reflect this offering, which are covered in this guide.
The following steps add code to the application you created from the quickstart project sample. If you haven't created an application using the quickstart, you need to do so before completing these steps.
You can find a complete example of the Afterpay code on GitHub.
- The payment amount used in an Afterpay payment might not be supported.
- Not all sellers are eligible for Afterpay. Certain business categories are prohibited from using Afterpay.
- The Afterpay Sandbox environment ignores eligibility checks. Before starting the payment method implementation for an individual seller, check for Afterpay eligibility in production.
The Afterpay payment method needs information about the buyer and the payment amount before it can open the Afterpay payment sheet. Your application creates a PaymentRequest object to provide that information and then gets a new Afterpay/Clearpay object initialized with it.
Important
To verify that Afterpay is available to process a transaction (in step 3 of Attach Afterpay to the page), make sure to enclose the payment method initialization in a try...catch statement immediately after calling the method in the DOMContentLoaded event listener. You can then determine when to show the Afterpay payment method on the page and resolve the initialization exception. This validation ensures that it checks for Afterpay availability while loading other applicable payment methods on the page. The try...catch statement also ensures that Afterpay is enabled if the seller is onboarded with Afterpay and the transaction amount is eligible. This means that you can add the Afterpay payment method as long as you check eligibility with the try...catch statement.
The following code creates the payment request and attaches the Afterpay method to the page:
Add an HTML element to the prerequisite walkthrough form with an
idofafterpay-button. The HTML for the body of index.html should look like the following:<form id="payment-form"> <!-- Add the afterpay-button div below --> <div id="afterpay-button"></div> <div id="card-container"></div> <button id="card-button" type="button">Pay $1.00</button> </form> <div id="payment-status-container"></div>Add the following two functions to your script tag:
 function buildPaymentRequest(payments) {
   const req = payments.paymentRequest({
     countryCode: 'US',
     currencyCode: 'USD',
     total: {
       amount: '1.00',
       label: 'Total',
     },
     requestShippingContact: true,
   });

   // Note how afterpay has its own listeners
   req.addEventListener('afterpay_shippingaddresschanged', function (_address) {
     return {
       shippingOptions: [
         {
           amount: '0.00',
           id: 'shipping-option-1',
           label: 'Free',
           taxLineItems: [
             {
               amount: '0.00',
               label: 'Tax'
             }
           ],
           total: {
             amount: '1.00',
             label: 'total',
           },
         },
       ],
     };
   });

   req.addEventListener('afterpay_shippingoptionchanged', function (_option) {
     // This event listener is for information purposes only.
     // Changes here (or values returned) won't affect the Afterpay/Clearpay PaymentRequest.
   });

   return req;
 }

 async function initializeAfterpay(payments) {
   const paymentRequest = buildPaymentRequest(payments)

   const afterpay = await payments.afterpayClearpay(paymentRequest);
   await afterpay.attach('#afterpay-button');

   return afterpay;
 }
Note how Afterpay has its own event listeners on the
PaymentRequestobject and how these event listeners have their own specific callbacks. For more information, see addEventListener.In the
DOMContentLoadedevent listener, add the following code after you initialize the Afterpay payment method:let afterpay; try { afterpay = await initializeAfterpay(payments); } catch (e) { console.error('Initializing Afterpay/Clearpay failed', e); // There are a number of reasons why Afterpay might not be supported // (such as Browser Support, Device Support, Account). Other reasons // might include the seller account not being eligible or the payment // amount not being supported. Therefore, you should handle // initialization failures, while still loading other applicables. // payment methods. }
Test the application
Navigate to http://localhost:3000/ in your browser.

Did you know?
The buyer sees either the Afterpay logo or the Clearpay logo depending on their browser locale or on the locale that the developer provides to the Web Payments SDK.
Checkpoint 1: You should see the Afterpay button rendered on your page.
Add the following code after // Checkpoint 2 in the DOMContentLoaded event listener function:
 if (afterpay !== undefined) {
   const afterpayButton = document.getElementById('afterpay-button');
   afterpayButton.addEventListener('click', async function (event) {
     await handlePaymentMethodSubmission(event, afterpay);
   });
 }
Test the application
When you test an Afterpay payment in the Sandbox, use 111111 as the verification code when prompted.
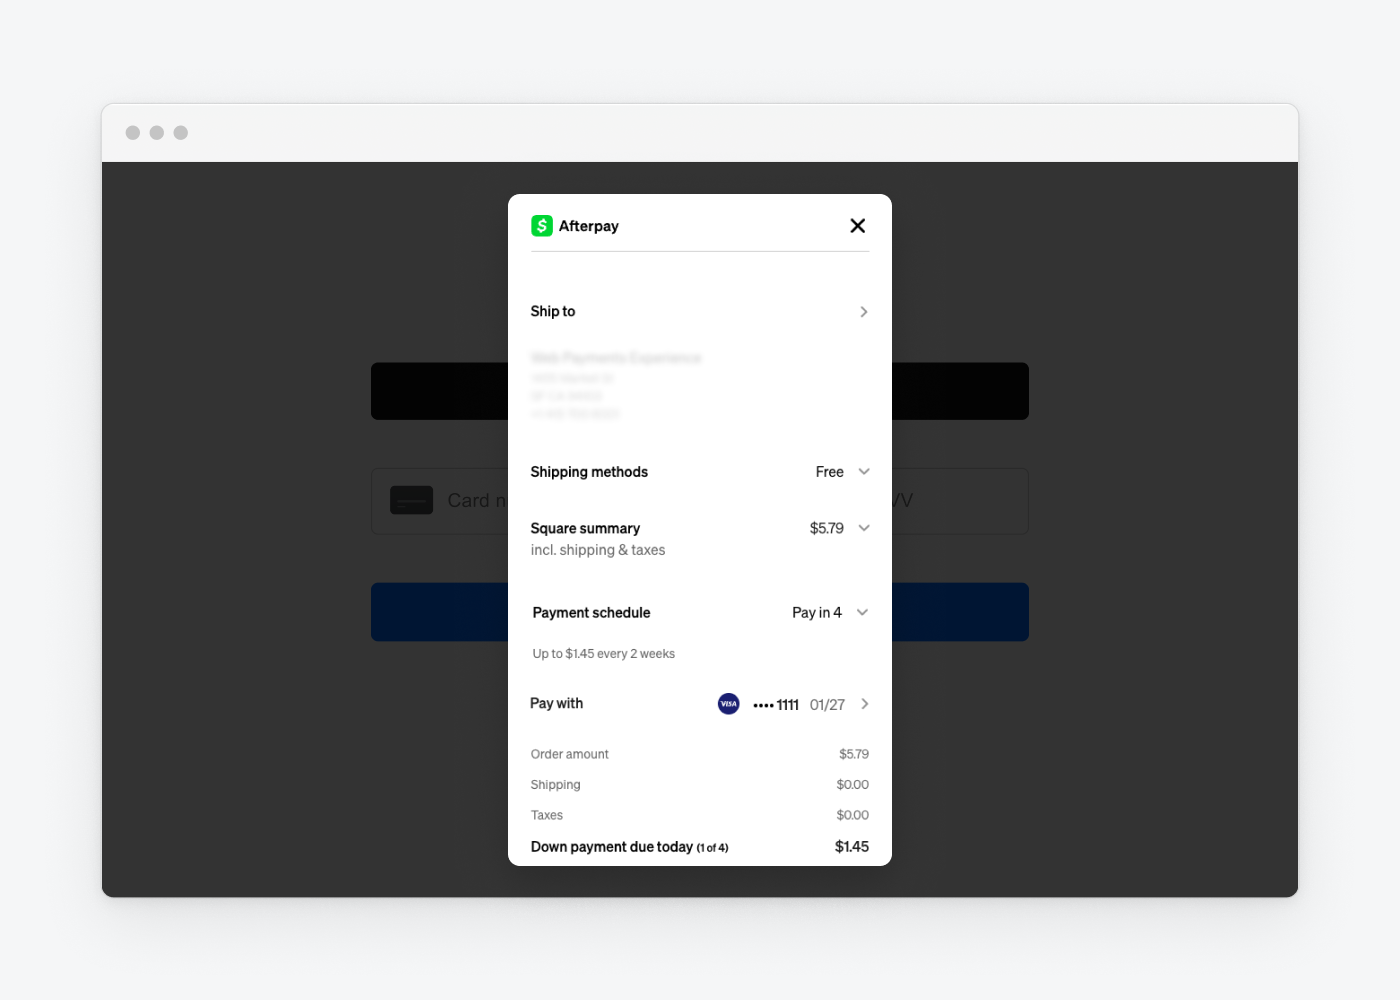
The following animation shows the Afterpay payment flow:
Did you know?
When setting up Afterpay in the Sandbox, no SMS messages are sent. You can test Afterpay payments in the Sandbox and test checkout flows by creating test customer accounts. To learn more about using test customer accounts to test checkout flows in the Afterpay Sandbox, see the Afterpay documentation.
Navigate to http://localhost:3000/ in your browser.
Choose the Afterpay button.
Use a test card. For information about setting up a test account and credit card, see Test Afterpay payments in the Square Sandbox.
Checkpoint 2. You should see the Afterpay form and be able to complete a payment.
The payment token that your application generated for an Afterpay payment is processed on your backend in the same way a payment token from one of the other payment methods is processed, with some exceptions. To learn about the specific processing requirements, see Afterpay and Clearpay Payments.
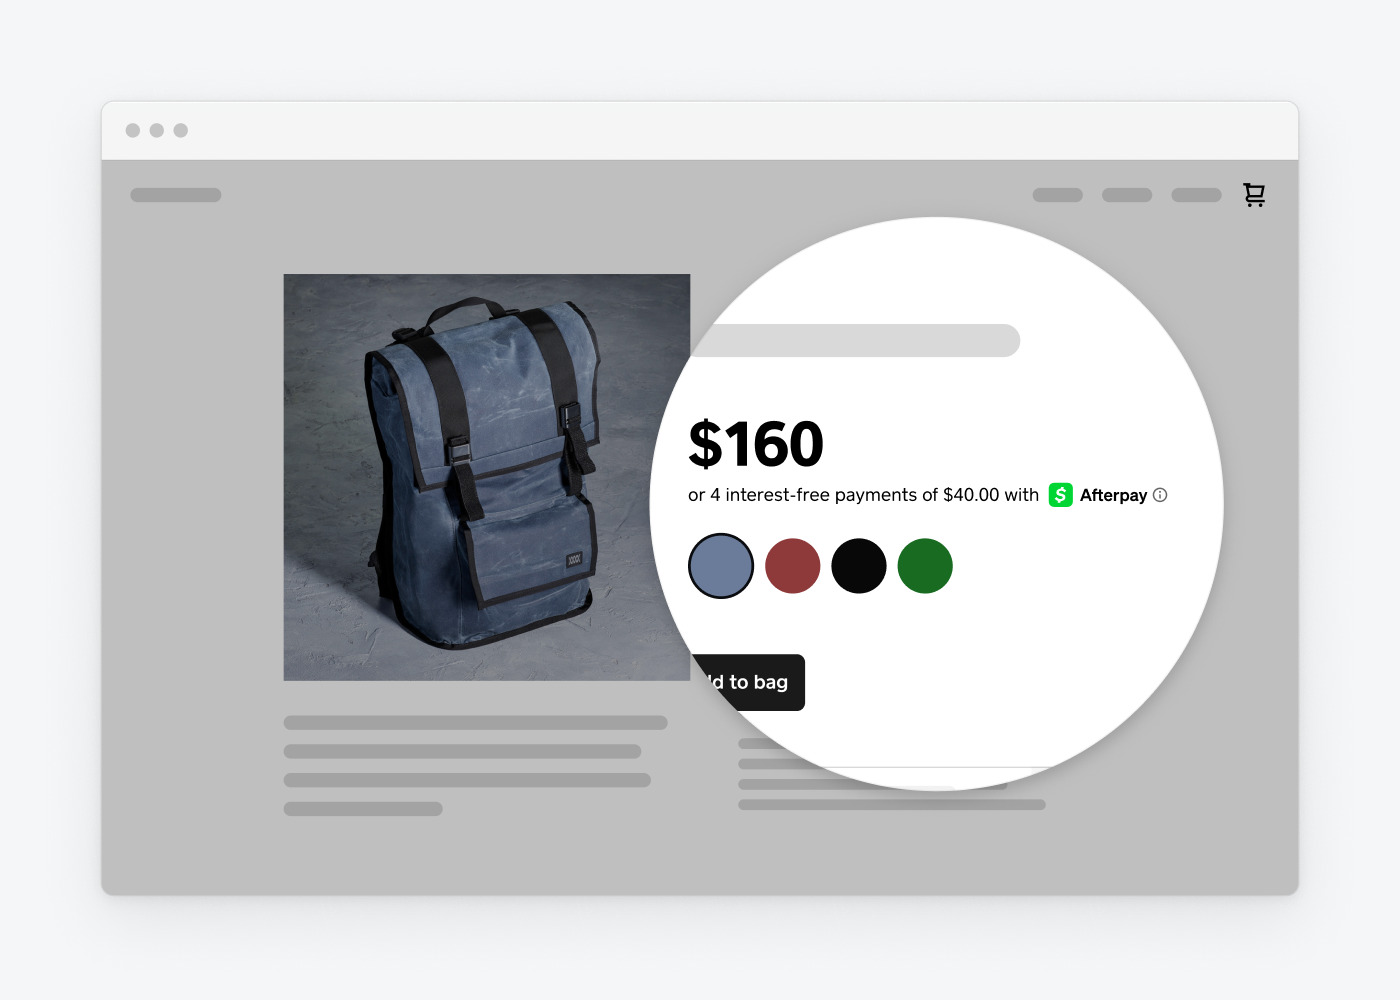
The Afterpay payment method includes different types of widgets that can be attached to the page to make buyers aware that Afterpay is available and to help improve payment conversion.
The Afterpay Messaging Widget tells buyers early in the flow that installments are available through Afterpay. The widget calculates and displays an installment amount, along with providing an informational modal when the user clicks the ⓘ icon.
Add the following HTML to the page where you want to display the widget:
<div id="afterpay-messaging"></div>Call the
attachMessagingfunction:await afterpay.attachMessaging('#afterpay-messaging');
The appearance of the Afterpay Messaging Widget can be customized through the AfterpayMessagingOptions parameter.
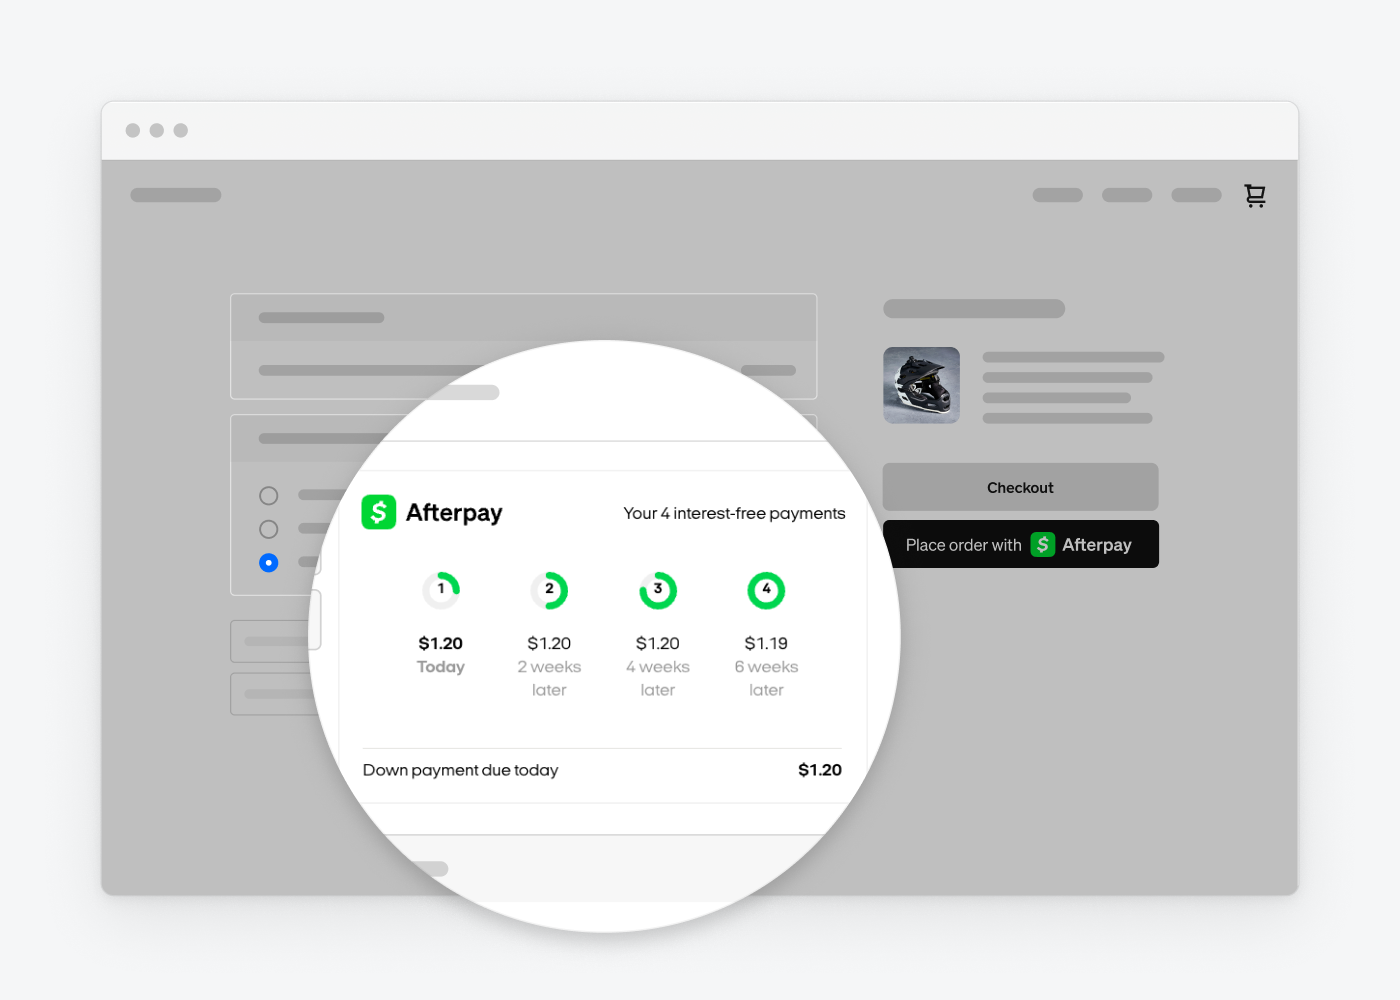
The Afterpay Checkout Widget displays the consumer payment schedule before verifying the purchase and completing the payment flow.
Add the following HTML to the page where you want to display the widget:
<div id="afterpay-checkout"></div>Call the
attachCheckoutWidgetfunction:await afterpay.attachCheckoutWidget('#afterpay-checkout');