Learn how to build a Square GraphQL query using GraphQL Explorer and the schema documentation.
Square GraphQL provides read access to data in supported Square graphs. When querying with GraphQL, you specify the exact data that you want Square to return.
The following steps use Square GraphQL Explorer to create a query that gets open orders and information about the customer associated with each order. As you write the query, you learn how to browse the schema to find available fields, type information, and valid query syntax.
To query for data using Square GraphQL, you need a Square account. If you don't already have one, you can sign up and create a free account in minutes.
To get query results, you need at least one order in your account. You also need to associate a customer with the order if you want to see customer data in the results.
Square GraphQL supports read operations only, so you need to call Square API endpoints to create a customer and an order.
After you sign in to API Explorer using your Square account, choose Try in API Explorer in the following requests to open and run them in API Explorer:
Optional - Create a customer if you want to see customer data in the results.
Create customer
Create an order. Before sending the request, replace the placeholder values for
location_idandcustomer_id. If you're not specifying a customer, clear thecustomer_idfield.Create order
Sign in to GraphQL Explorer using your Square account. If the Documentation Explorer pane isn't showing, choose the Docs button to open it.
Choose Add access token and select an access token. The token is automatically added to the Request Headers pane and used to authorize your query.
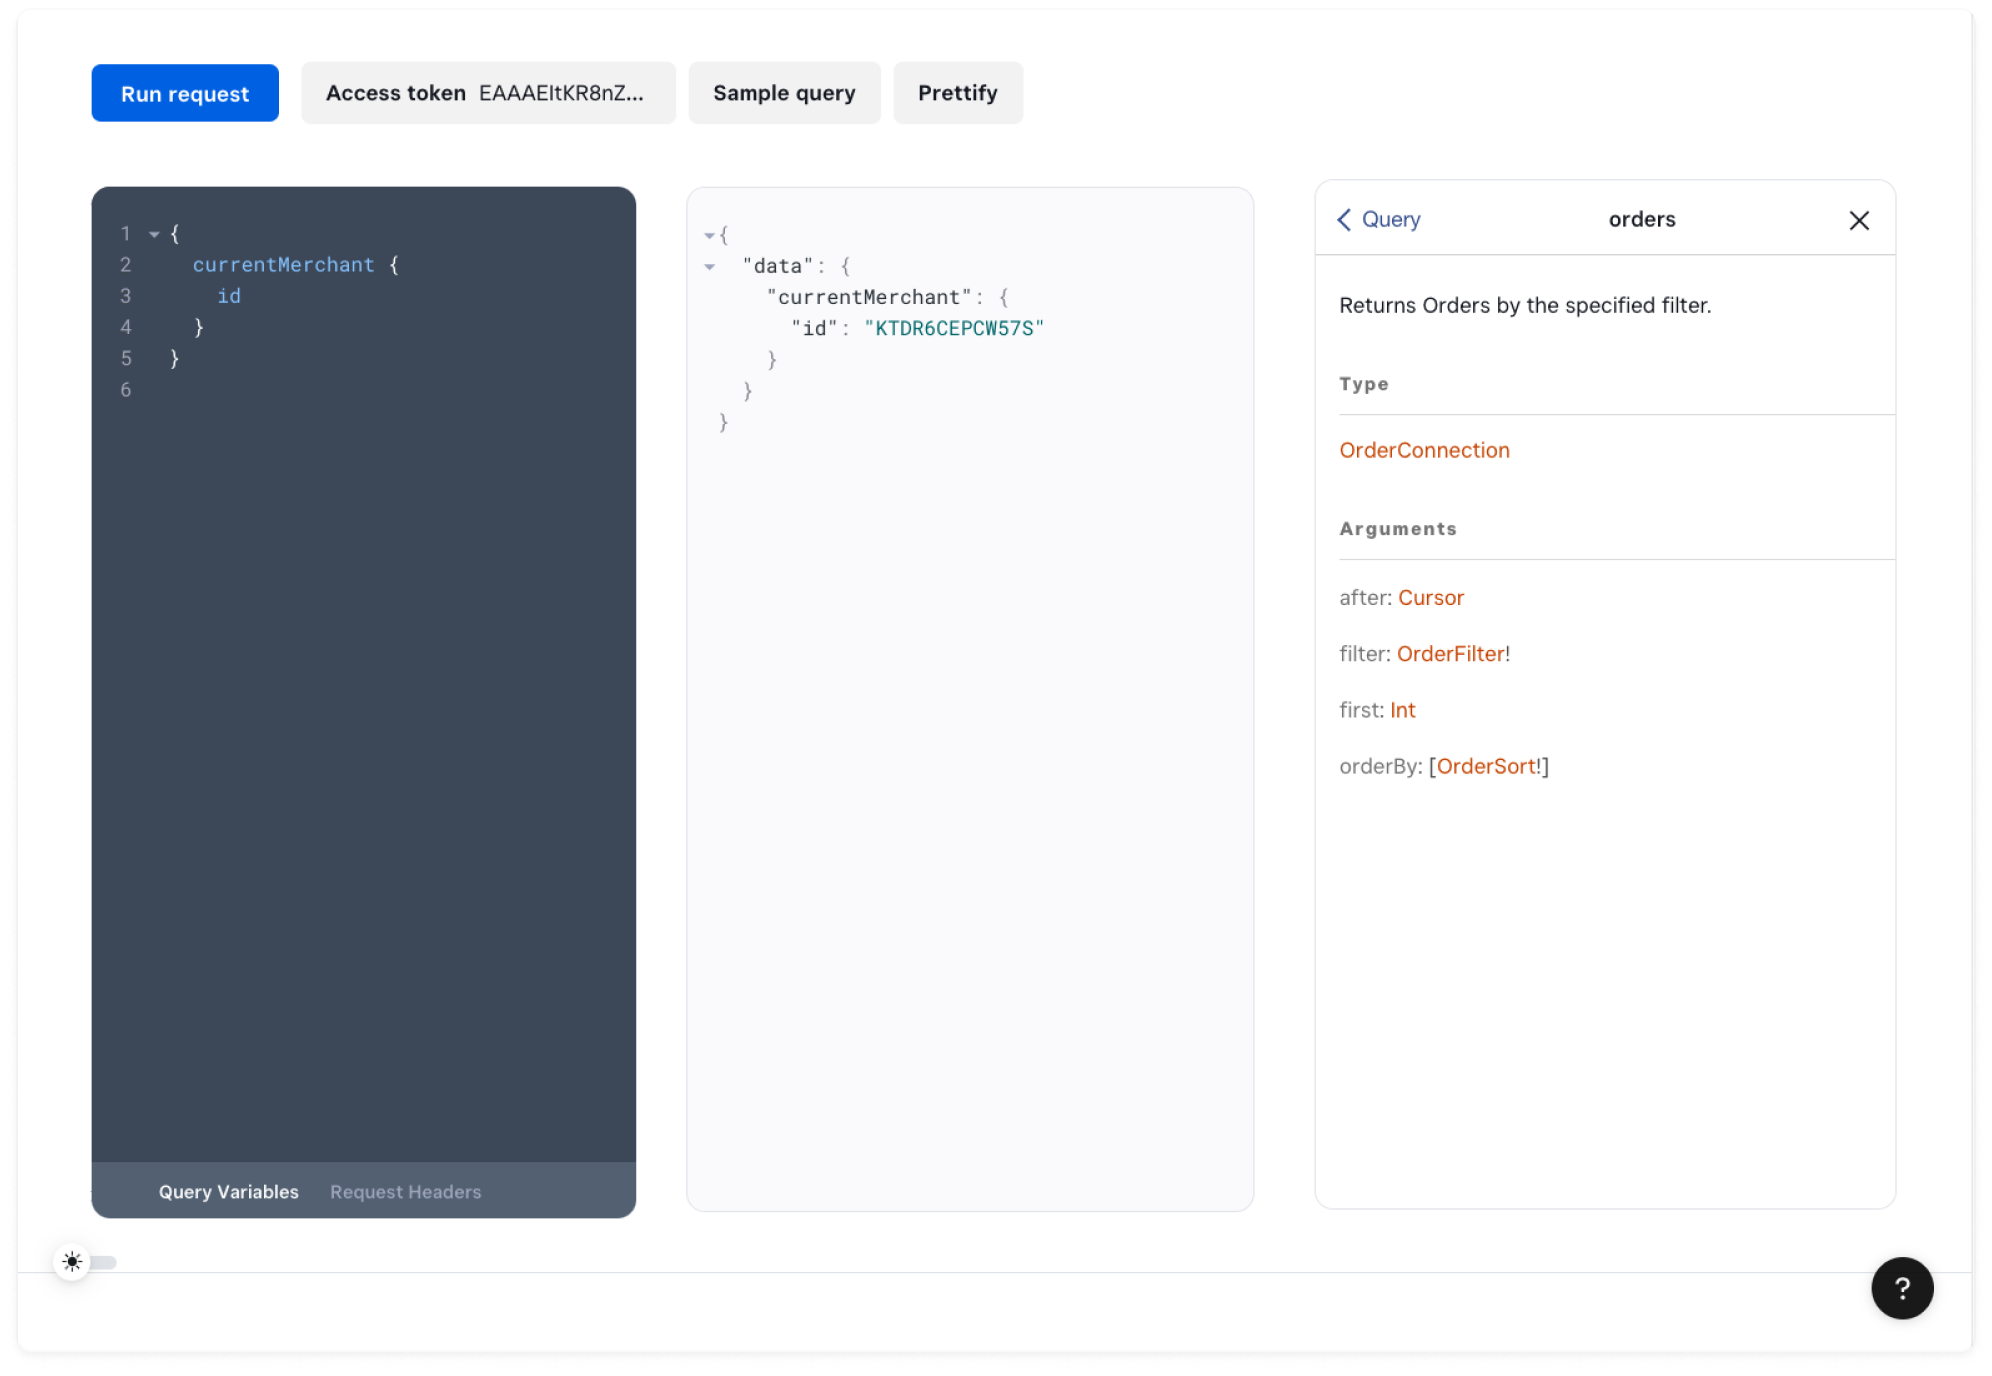
Get your merchant ID, which is required for most queries. Remove any existing content from the query pane and enter the following query:
{
  currentMerchant {
    id
  }
}
Choose Run request. Copy the returned
idto use in a later step.Note that the
currentMerchantentry point provides quick access to theidof the merchant associated with the access token, as well as other properties such asbusinessName,currency, andlocations.
In Documentation Explorer, choose the
Queryroot type to see available entry points. For this exercise, chooseorders.You can see that the
ordersentry point is anOrderConnectionobject that accepts several arguments.
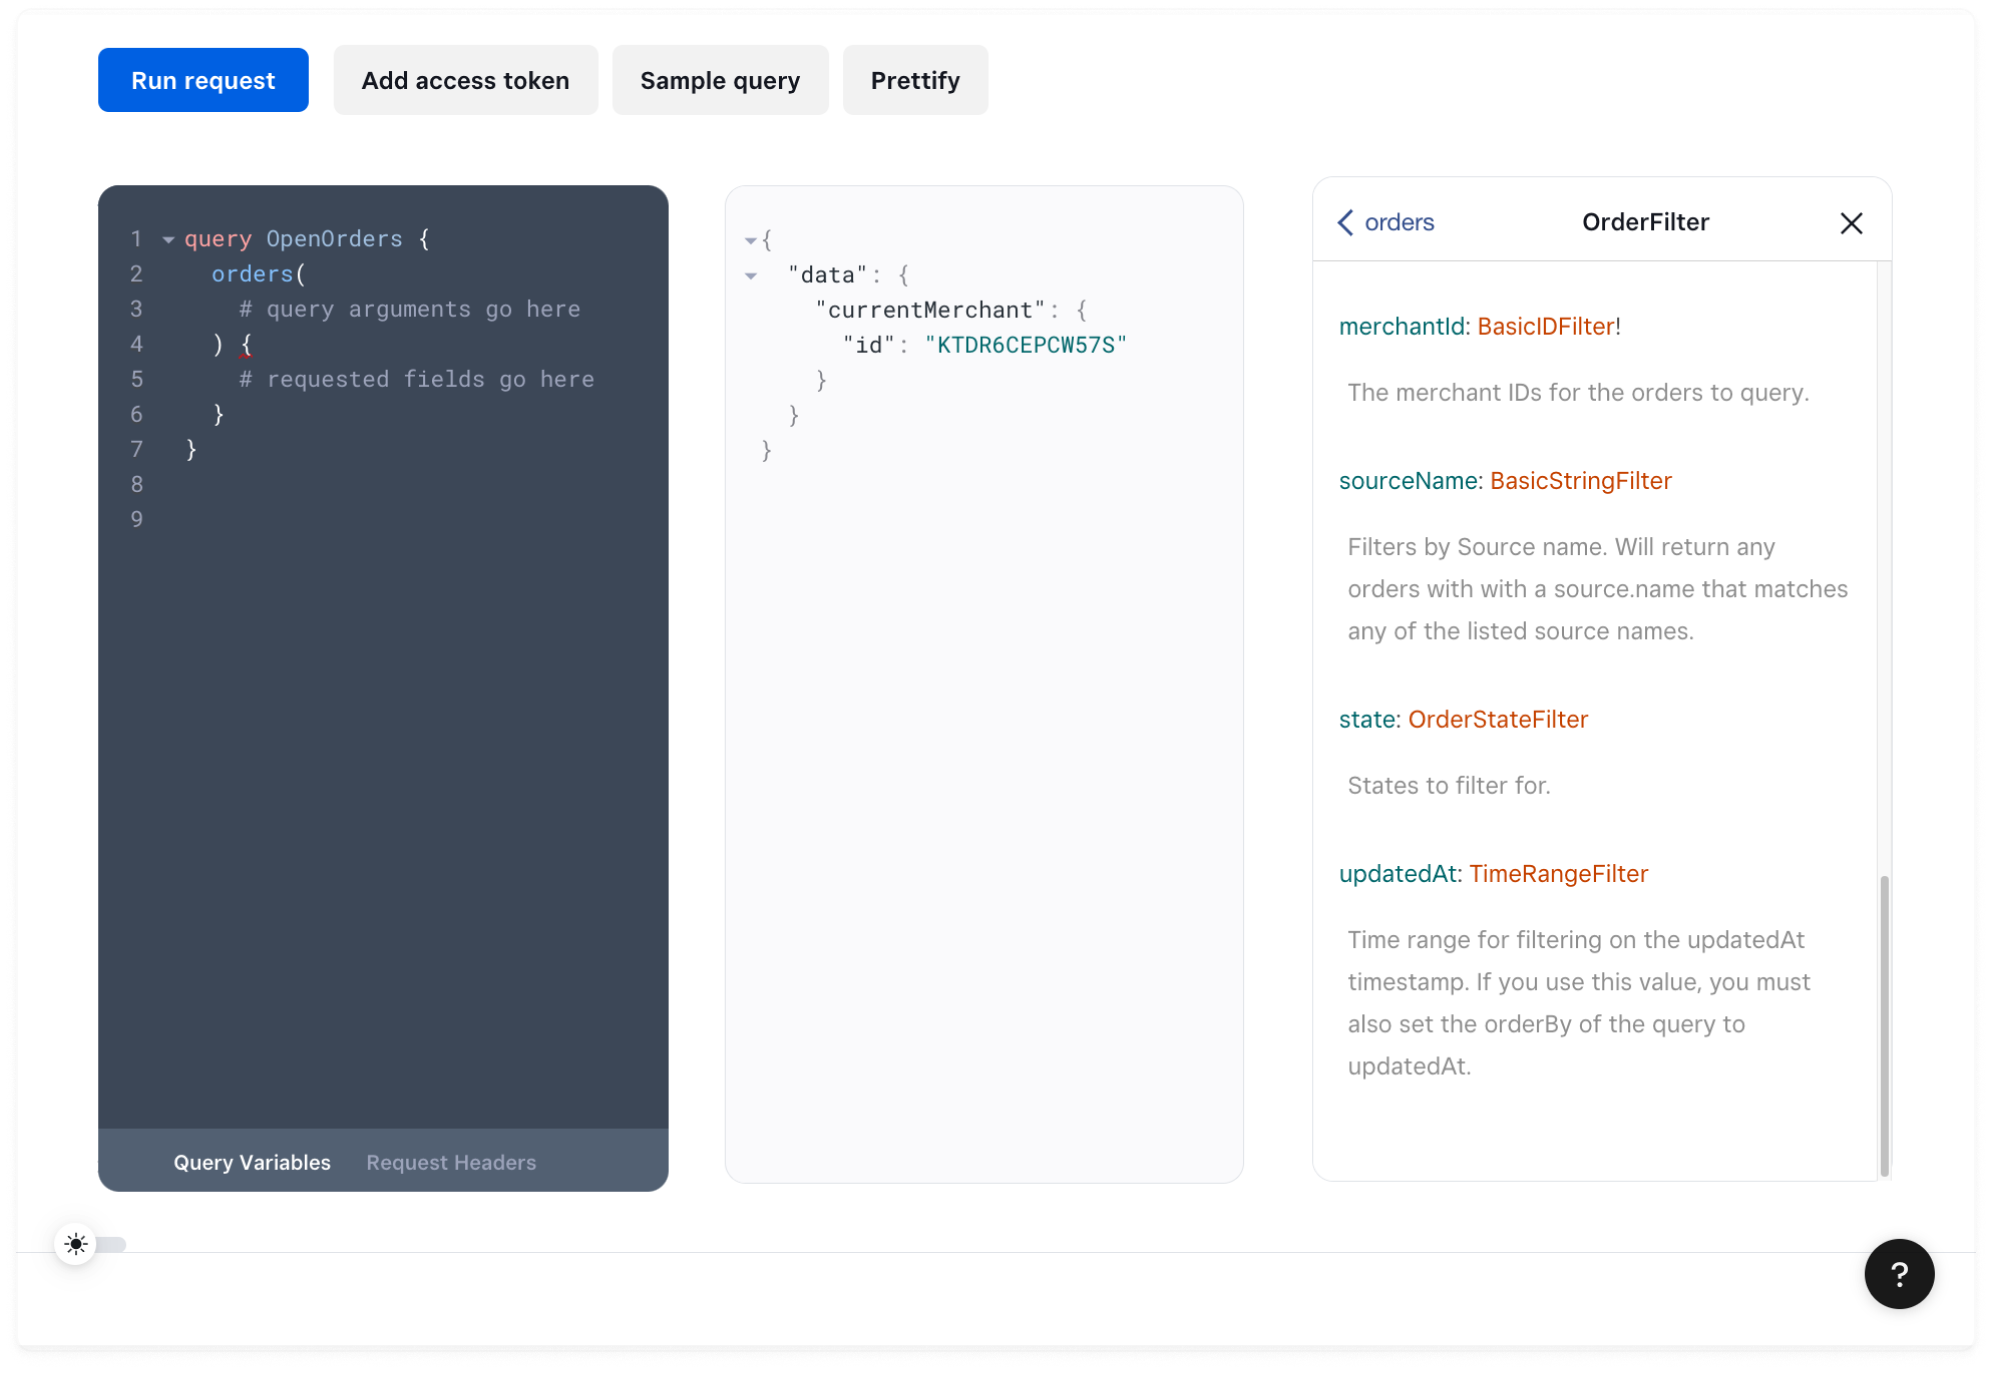
In the query pane, start writing your query. Remove any existing content and enter the following snippet, which uses
OpenOrdersas the optional operation name:query OpenOrders { orders( # query arguments go here ) { # requested fields go here } }The example query you're building only includes
orders, but queries can contain multiple entry points.Did you know?
In the query pane, you can hover over the
ordersfield to open a code hint that provides a short description of the field with links to relevant schema documentation. The query pane also provides code completion and syntax validation to help you write queries.
This example query filters orders by merchant ID and the OPEN state.
In Documentation Explorer, choose the
OrderFiltertype for thefilterargument. Scroll down to themerchantIdandstatefilters.
Navigate through the components that make up the
merchantIdandstatefilters to find the required syntax.merchantIduses the following syntax:merchantId: { equalToAnyOf: [ID!] }stateuses the following syntax:state: { equalToAnyOf: [OrderState!] }
The following snippet shows the
filtersyntax for the example query:filter: { merchantId: { equalToAnyOf: [ID!] } state: { equalToAnyOf: [OrderState!] } }Add the snippet to your query. In the query pane, replace
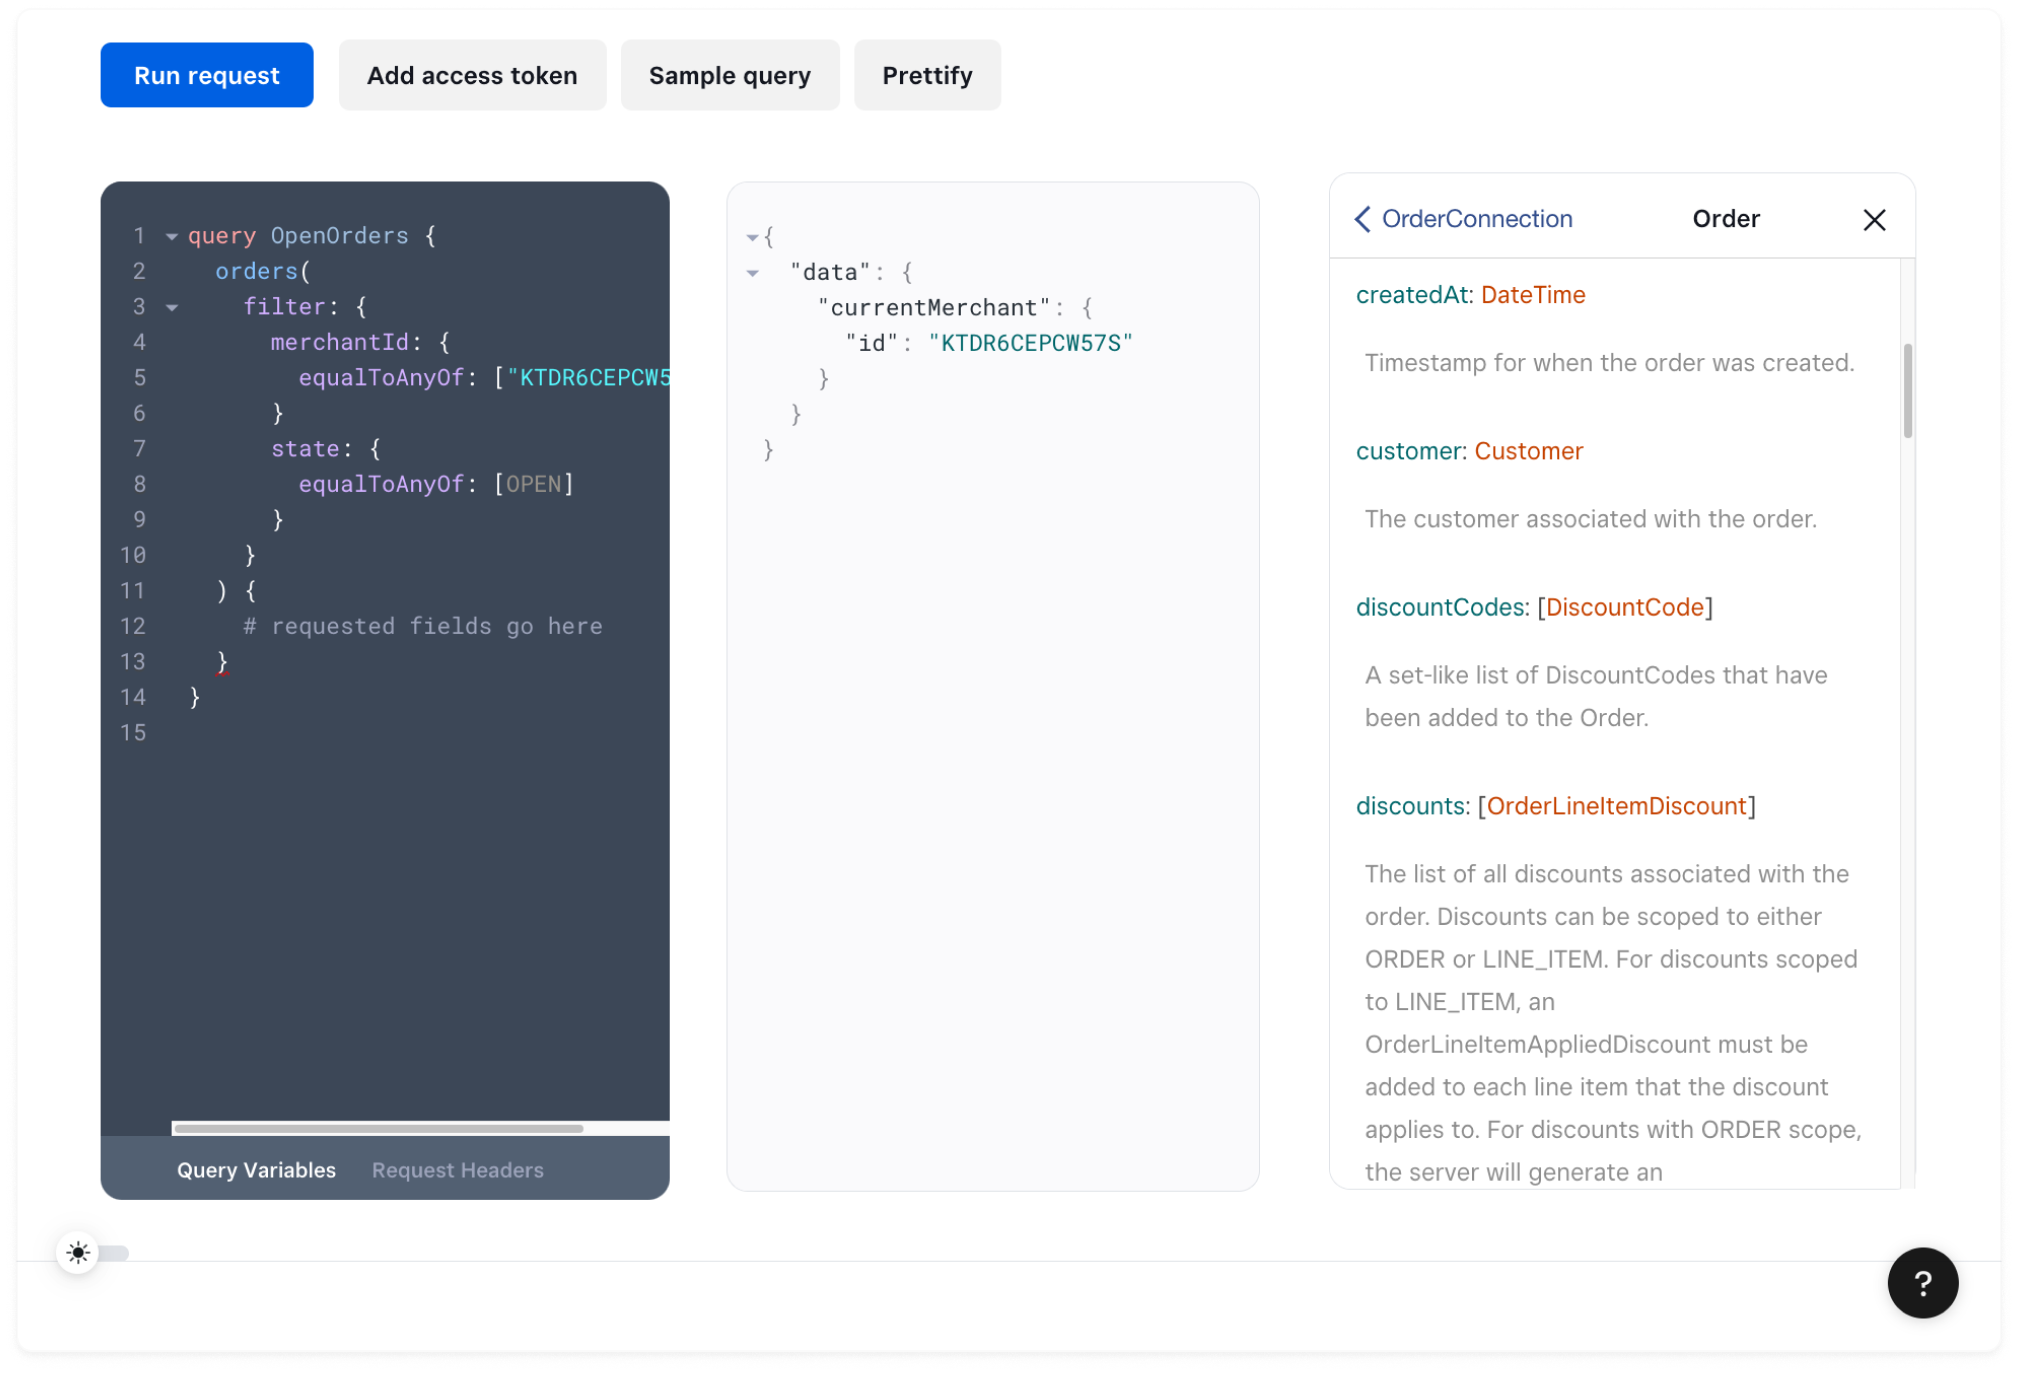
# query arguments go herewith thefilterargument. Then, replace themerchantIdvalue with your merchant ID and thestatevalue withOPEN.Your query should look like the following example, where
YOUR_MERCHANT_IDis your merchant ID. You can ignore any mismatched indentation.query OpenOrders { orders( filter: { merchantId: { equalToAnyOf: ["YOUR_MERCHANT_ID"] } state: { equalToAnyOf: [OPEN] } } ) { # requested fields go here } }The
filterargument is now complete. The next part of the query specifies the order and customer data you want to retrieve.
Queries must explicitly specify the fields to retrieve. This example query gets information about the order and the customer associated with the order. In the following steps, you navigate through the schema to find fields to add to the query:
In Documentation Explorer, return to
ordersand choose theOrderConnectiontype. Note that thenodesfield is an array ofOrderobjects.Choose the
Ordertype to see the available order fields. For this query, you want to retrieve theid,createdAt, andcustomerfields for the order. Note that thecustomerfield is aCustomerobject.
Choose the
Customertype to see the available customer fields. For this query, you want to retrieve thefamilyName,phoneNumber, andaddressfields for the customer associated with the order. Note that theaddressfield is anAddressobject.Choose
Addressto see the available address fields. For this query, you just want to retrieve thepostalCodefield of the customer's address.The following snippet represents the hierarchical list of fields you want to retrieve, starting with the
nodesfield:nodes { id createdAt customer { familyName phoneNumber address { postalCode } } }Add the snippet to your query. In the query pane, replace
# requested fields go herewith the fields you want to retrieve. Your query should look like the following example:query OpenOrders { orders( filter: { merchantId: { equalToAnyOf: ["YOUR_MERCHANT_ID"] } state: { equalToAnyOf: [OPEN] } } ) { nodes { id createdAt customer { familyName phoneNumber address { postalCode } } } } }
Choose Run request. The following is an excerpt of an example response:
{
  "data": {
    "orders": {
      "nodes": [
        {
          "id": "o9r5HI1rP4DNu2zZfElQTio8uaB",
          "createdAt": "2023-06-08T06:54:26.332Z",
          "customer": {
            "familyName": "Singhal",
            "phoneNumber": "12065551012",
            "address": {
              "postalCode": "98121"
            }
          }
        },
        {
          "id": "6STgq2h0v1K6smkASQP7kdVuuaB",
          "createdAt": "2023-06-08T06:05:42.874Z",
          "customer": {
            "familyName": "Castillo",
            "phoneNumber": "629-555-9284",
            "address": null
          }
        },
        {
          "id": "CkmasoR7ZXSRG969A0ZEuMMlvaB",
          "createdAt": "2023-06-07T20:50:00.136Z",
          "customer": {
            "familyName": "Nguyen",
            "phoneNumber": "6095553220",
            "address": {
              "postalCode": "08009"
            }
          }
        },
        {
          "id": "QBRic2WOSImQjSFwJMaJsDkCuaB",
          "createdAt": "2023-06-07T18:45:24.973Z",
          "customer": {
            "familyName": "Cohen",
            "phoneNumber": "+12065554871",
            "address": {
              "postalCode": "98101"
            }
          }
        },
        ...
      ]
    }
  }
}
Keep in mind that each tender (payment) for an order might also have an associated customer. The customer associated with the payment might not be the same one that is associated with the order.
Learn how to use variables to make your queries easier to reuse. For example, instead of specifying the merchant ID directly in the query, you can use a variable in the query and pass in the merchant ID separately.
Learn how to use pagination to retrieve paged responses.
Experiment with the sample queries available in GraphQL Explorer. For information about using GraphQL Explorer, see GraphQL Explorer.
Run example queries using the Square and GraphQL - Code Example (Node.js) sample application.
See Square GraphQL in action in the Square Dev GraphQL and PKCE Example Application (React Native) sample application that lets owners monitor orders and employee information at different locations.
Note
The sample applications include a script you can run to upload test data to your Square account.