Applies to: Mobile Payments SDK - Android | Payments API | Orders API
Learn how to use the Mobile Payments SDK for Android to take a payment with a Square Reader.
Applies to: Mobile Payments SDK - Android | Payments API | Orders API
Learn how to use the Mobile Payments SDK for Android to take a payment with a Square Reader.
Payments in the Mobile Payments SDK are handled by the PaymentManager. Prior to starting a payment, you create PaymentParameters to represent details of an individual payment and PromptParameters indicating how the payment prompts are presented to the buyer.
Before taking a payment with the SDK in a production environment, ensure that you have done the following:
Additionally, before taking a payment in production, you can test your application using mock readers and the Square Sandbox or download the Mobile Payments SDK sample application to see an example payment implementation.
To begin a payment with the Mobile Payments SDK, you need to create a PaymentParameters object, which includes attributes describing the payment you want to take. For example, there are parameters for the payment amount, optional tip, application fee (if applicable), and the processing mode, which determines whether payments can be taken offline. AUTO_DETECT is the recommended processingMode, as this directs the payment online or offline based on the highest chance of success. For this reason, the resulting Payment object might be an OnlinePayment or OfflinePayment, and your application should account for both if you're using the AUTO_DETECT processing mode. Merchants can optionally add card surcharges to payments, and your application can allow or override that setting with the allowCardSurcharge parameter.
val paymentParams = PaymentParameters.Builder(
    amount = Money(100, CurrencyCode.USD),
    processingMode = ProcessingMode.AUTO_DETECT,
    allowCardSurcharge = true
)
    .paymentAttemptId("unique-attempt-id")
    .build()
For the complete list of payment parameter values and details, see the Android technical reference.
In the Mobile Payments SDK version 2.2.0 and earlier, you generated and added your own idempotency key in your paymentParameters. In version 2.3.0 and later, the idempotencyKey parameter is deprecated and you instead provide a paymentAttemptId.
This is the recommended way to handle idempotent payment requests in the Mobile Payments SDK, and offers both idempotency protection and support for Strong Customer Authentication (SCA) requirements.
Square payment requests contain an idempotency key, a unique string identifier which allows Square to recognize potential duplicate API calls. Using an idempotency key for each payment request ensures that a payment can only occur once, protecting against unintended outcomes like charging a customer twice for the same transaction.
When you provide a paymentAttemptId in your paymentParameters for each call to startPaymentActivity, the Mobile Payments SDK generates a unique idempotency key for the payment request, and stores it along with your payment attempt ID. If multiple requests are made for the same payment attempt (for example, during SCA flows), the SDK generates a new idempotency key for each request and updates the stored idempotency key for the given payment attempt ID. You can't include both an idempotencyKey and a paymentAttemptId in your paymentParameters, only one.
Along with a paymentAttemptId, you should include a unique referenceId value in your PaymentParameters for each payment. This persists with the payment and can be used to identify the payment within your own system if you need to reference it later. Your attempt ID and reference ID aren't interchangeable. You shouldn't use the same value for both parameters because sometimes a payment requires multiple attempts (for example, if the first payment attempt is declined for expiration or insufficient funds, you can retry the payment with the same referenceId and a new paymentAttemptId). Typically, the referenceId is used to match Square payments to an external system, but it can also be used to identify payments within Square.
If you don't receive a server response from a payment made with the Mobile Payments SDK, you should check its status to determine whether to attempt the payment again. Use the ListPayments endpoint and query by location ID, total payment amount, or other fields to filter the list. You can use your unique referenceId to identify the correct payment and check its status. You might need to make a new payment attempt if the prior payment exists, but cannot be completed. In this situation, retrieve the final idempotency key used for the payment attempt with your payment attempt ID using paymentManager.getIdempotencyKey(paymentAttemptId: String), and cancel the incomplete payment by using CancelPaymentByIdempotencyKey.
Each payment also requires PromptParameters, consisting of a mode and a list of additionalPaymentMethods. PromptParameters.mode determines whether your application uses the DEFAULT Square payment prompt UI or a CUSTOM payment prompt where you build your own UI. The default UI provided by Square presents buyers with the payment options available from paymentManager.availableCardInputMethods(). While PaymentParameters are unique to each payment, you can likely reuse the same PromptParameters for most payments in your application.
PromptParameters.additionalPaymentMethods specifies a list of additional payment methods available to use for this payment. The current options are KEYED (a manually entered credit card payment) or CASH. When used with the DEFAULT promptMode, the Square payment prompt includes these alternative payment methods as options presented to buyers. If you create your own CUSTOM promptMode, you should use the additionalPaymentMethods available from the PaymentHandle to display these options to buyers in your own payment prompt UI.
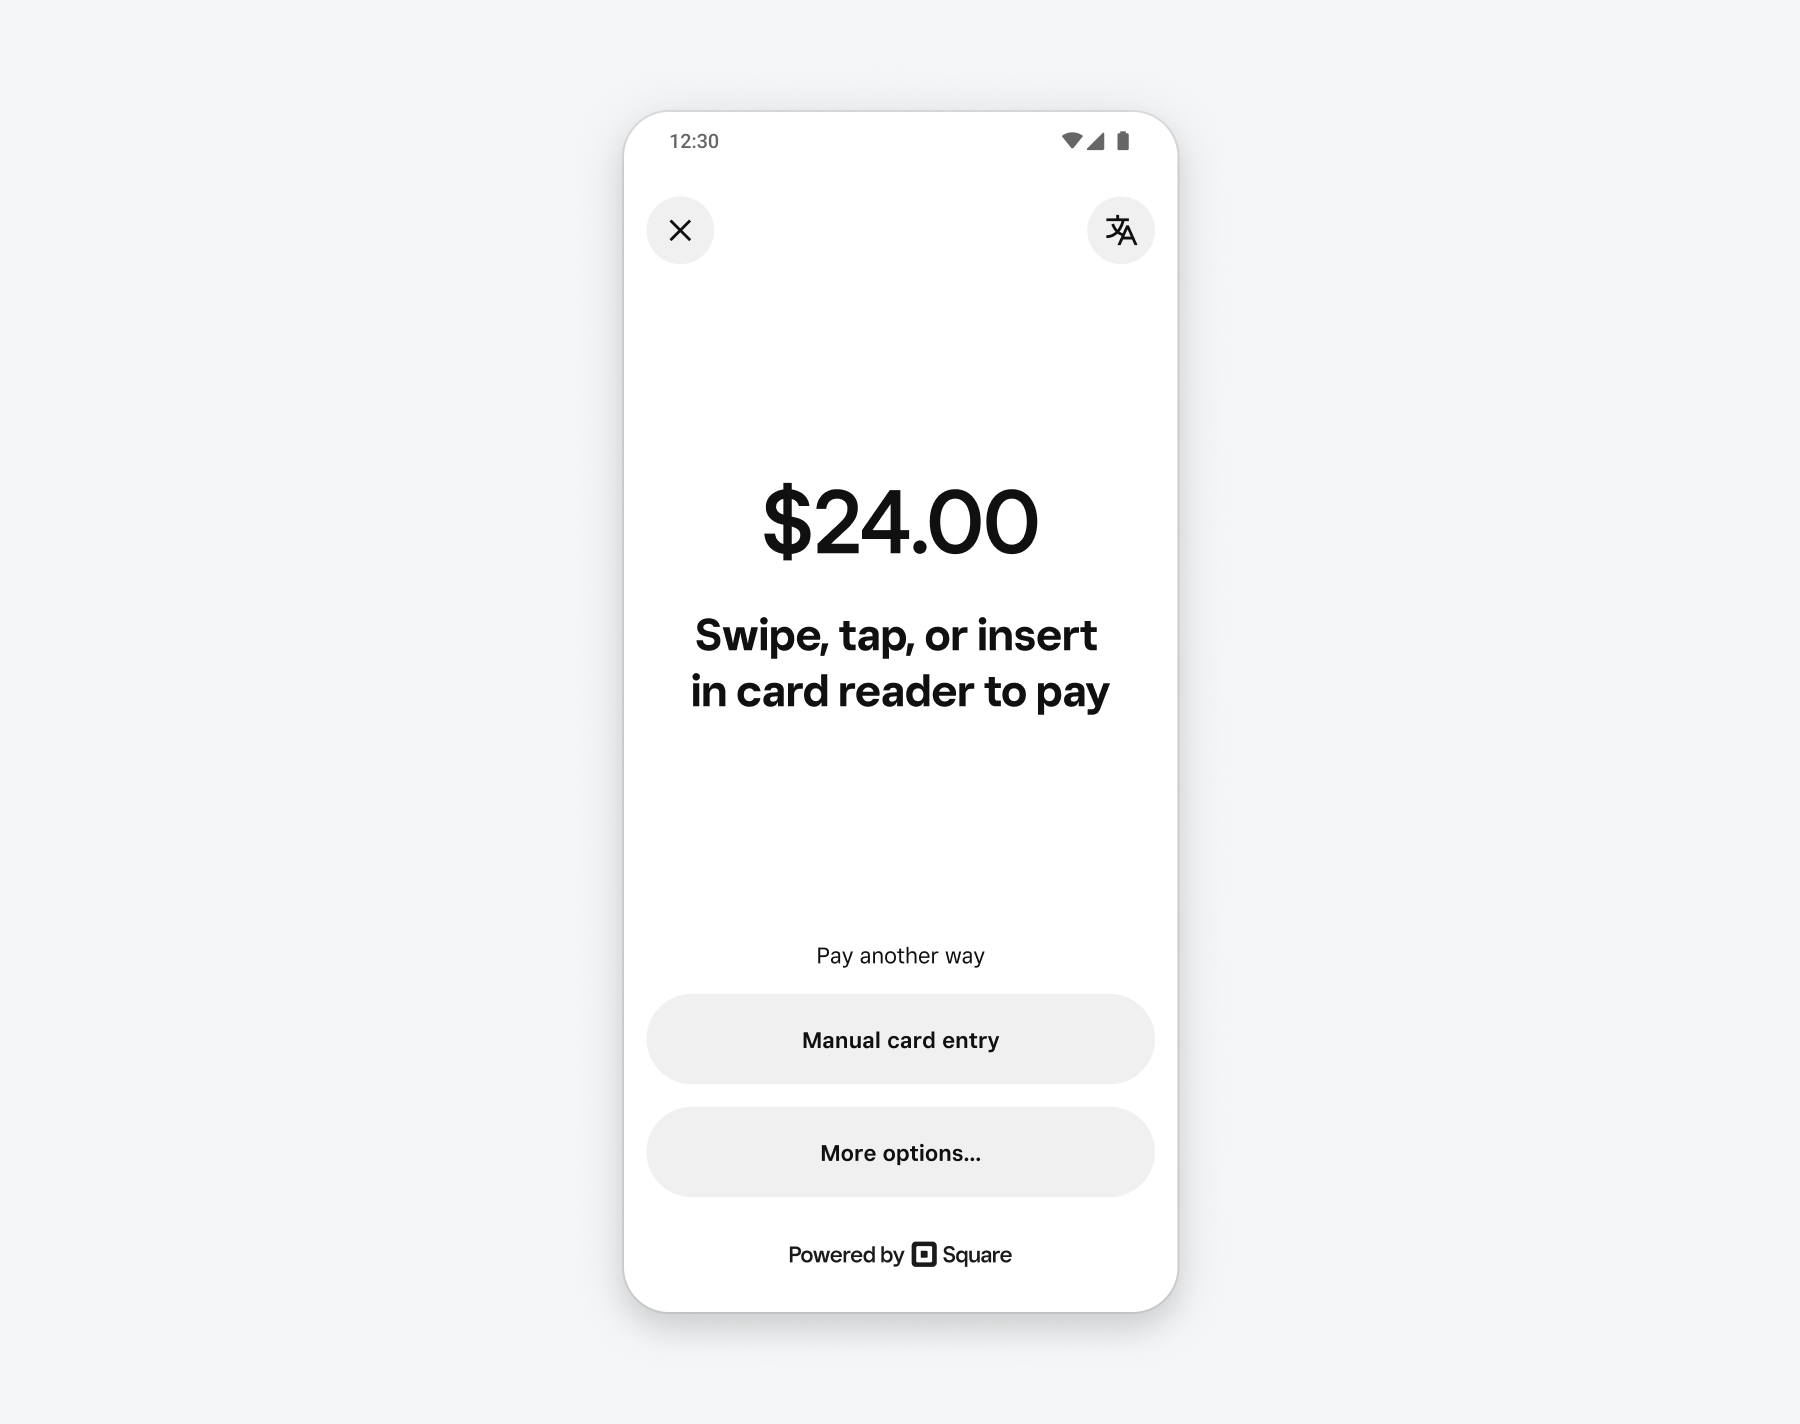
After the callbacks have been written, you can begin processing a payment by calling paymentManager.startPaymentActivity() with the PaymentParameters and PromptParameters you created previously and calling a callback to notify your application of results or errors from the payment flow.
During the payment:
PaymentHandle as a way for you to interact with the ongoing payment (for example, if you need to cancel the payment).When the payment completes, regardless of whether it completed successfully, control is returned to the user interface and the callback is invoked with the result. Your application can then display receipt or error information to the user.
Only one payment can be in process at a time. If you make a second call to startPaymentActivity before the first call completes, the second call fails immediately with a USAGE_ERROR, triggering the payment callbacks. The first payment call continues.
fun startPaymentActivity() {
    val paymentManager = MobilePaymentsSdk.paymentManager()
    val paymentAttemptId = UUID.randomUUID().toString()

    // Configure the payment parameters
    val paymentParams = PaymentParameters.Builder(
        amount = Money(100, CurrencyCode.USD),
        paymentAttemptId = paymentAttemptId,
        processingMode = processingMode(ProcessingMode.AUTO_DETECT),
        allowCardSurcharge = true
    )
        .referenceId("1234")
        .note("Chocolate Cookies and Lemonade")
        .autocomplete(true)
        .build()
    // Configure the prompt parameters
    val promptParams = PromptParameters(
        mode = PromptMode.DEFAULT,
        additionalPaymentMethods = listOf(AdditionalPaymentMethod
            .Type.KEYED)
    )
    // Start the payment activity
    paymentHandle = paymentManager.startPaymentActivity(paymentParams, promptParams) { result ->
        // Handle the payment result
        when (result) {
            is Success -> // show payment details
            is Failure -> // show error message
        }
    }
}

override fun onDestroy() {
    paymentHandle?.cancel()
}
As part of your application workflow, you might want to authorize a customer's transaction but delay the capture of the payment (the transfer of funds from the customer to the seller) for a period of time. For example, in a restaurant with a kiosk ordering system, you might want to authorize a customer's credit card when they order, but not complete the payment until they receive their food.
While creating PaymentParameters for a payment, set the autocomplete value to false if you want to delay the capture of a payment. By default, autocomplete is true, meaning the payment is authorized and captured immediately.
Only one of the autocomplete and acceptPartialAuthorization values can be true. If you're accepting multiple payment methods for a single purchase (such as a gift card and credit card), you must set autocomplete to false and manage the delayed capture of the payment.
When autocomplete is false, there are two more PaymentParameter values that handle the delayed payment:
delayDuration - The number of milliseconds to wait before canceling the payment or taking another delayAction, in RFC 3339 format. By default, this is 36 hours for card reader payments and 7 days for manually entered payments.delayAction - The action to take after the delayDuration passes with no other action on the payment. The possible options are CANCEL (which is the default) or COMPLETE.You can add a tip to the delayed payment by calling the UpdatePayment endpoint and setting tip_money prior to completing the payment. If you don't set the delayAction to automatically complete the payment, you can manually complete it by calling paymentManager.completePayment.
For more information about delayed payment capture using the Square Payments API, see Delayed Capture of a Card Payment.
A surcharge is an additional amount or percentage that sellers can set to pass on credit card processing fees to buyers. Sellers optionally set a surcharge percentage in their Square Dashboard. As a Mobile Payments SDK developer, you can include this surcharge or choose to override the dashboard settings and disallow surcharges on card payments in your application.
To add surcharges to credit card payments, your application must have ITEMS_READ permission in addition to the standard payment permissions.
Use the allowCardSurcharge parameter in your PaymentParameters to control whether surcharges can be applied to individual payments.
If you're using a custom payment prompt, use the use the PaymentHandle.totalMoneyWithProposedCardSurcharge to display surcharge amounts to customers before payment completion. This ensures transparency and compliance with surcharging regulations.
After an Online payment completes, access surcharge information from its CardPaymentDetails for receipt generation and record keeping:
private fun handlePaymentResult(result: Result<Payment, PaymentErrorCode>) {
    when (result) {
        is Result.Success -> {
            val payment = result.value
            if (payment is Payment.OnlinePayment) {
                val cardDetails = payment.cardDetails
                val surchargeDetails = cardDetails?.appliedCardSurchargeDetails

                if (surchargeDetails != null) {
                    val baseSurcharge = surchargeDetails.cardSurchargeMoney
                    val taxOnSurcharge = surchargeDetails.taxOnSurchargeMoney
                    val totalSurcharge = surchargeDetails.totalSurchargeMoney

                    // Display surcharge information to customer
                    println("Base surcharge: ${baseSurcharge.amount} ${baseSurcharge.currencyCode}")
                    println("Tax on surcharge: ${taxOnSurcharge?.amount ?: 0} ${baseSurcharge.currencyCode}")
                    println("Total surcharge: ${totalSurcharge.amount} ${totalSurcharge.currencyCode}")

                    // Use for receipt generation
                    generateReceiptWithSurcharge(payment, surchargeDetails)
                } else {
                    // No surcharge was applied to this payment
                    generateStandardReceipt(payment)
                }
            }
        }
        is Result.Failure -> {
            // Handle payment errors
            handlePaymentError(result.errorCode)
        }
    }
}
If you need to cancel a payment in progress for any reason, use paymentHandle.cancel(). The CancelResult returned is CANCELED, NO_PAYMENT_IN_PROGRESS if there is no payment in progress to be canceled, or NOT_CANCELABLE if the payment in progress cannot be canceled. This can happen when the payment is actively being sent to Square servers or has already been completed.
During any payment flow, if the application is backgrounded or the application activity is interrupted, the payment in progress is canceled.
Your application must provide buyers with the option to receive a digital or printed receipt. These receipts aren't sent directly by Square. Therefore, to remain compliant with EMV-certification requirements, you must generate receipts including the following fields found in the cardDetails of the successful payment response object from startPaymentActivity():
card.cardholderName (example: James Smith)card.brand and card.last4digits (example: Visa 0094)authorizationCode (example: Authorization 262921) (not available for offline payments)emvApplicationName (example: AMERICAN EXPRESS)emvApplicationId (example: AID: A0 00 00 00 25 01 09 01)entryMethod (example: Contactless)private fun showPaymentDetails(payment: Payment, receiptScreen: ReceiptScreen) { val cardDetails = (payment as OnlinePayment).cardDetails val card = cardDetails!!.card receiptScreen.setCardInformation( card.cardholderName, card.brand, card.lastFourDigits ) receiptScreen.setEmvInformation( cardDetails.authorizationCode, cardDetails.applicationName, cardDetails.applicationId ) receiptScreen.setEntryMethod(cardDetails.entryMethod) }