Applies to: Web Payments SDK
Learn how to take Google Pay payments in a web client with the Web Payments SDK.
You can add Google Pay to the application you built in Web Payments SDK Quickstart using the quickstart project sample. Digital wallet payments with Google Pay are available in all regions in which Square operates.
The following steps add code to the quickstart project sample. If you haven't created an application using the quickstart, you need to do so before completing these steps.
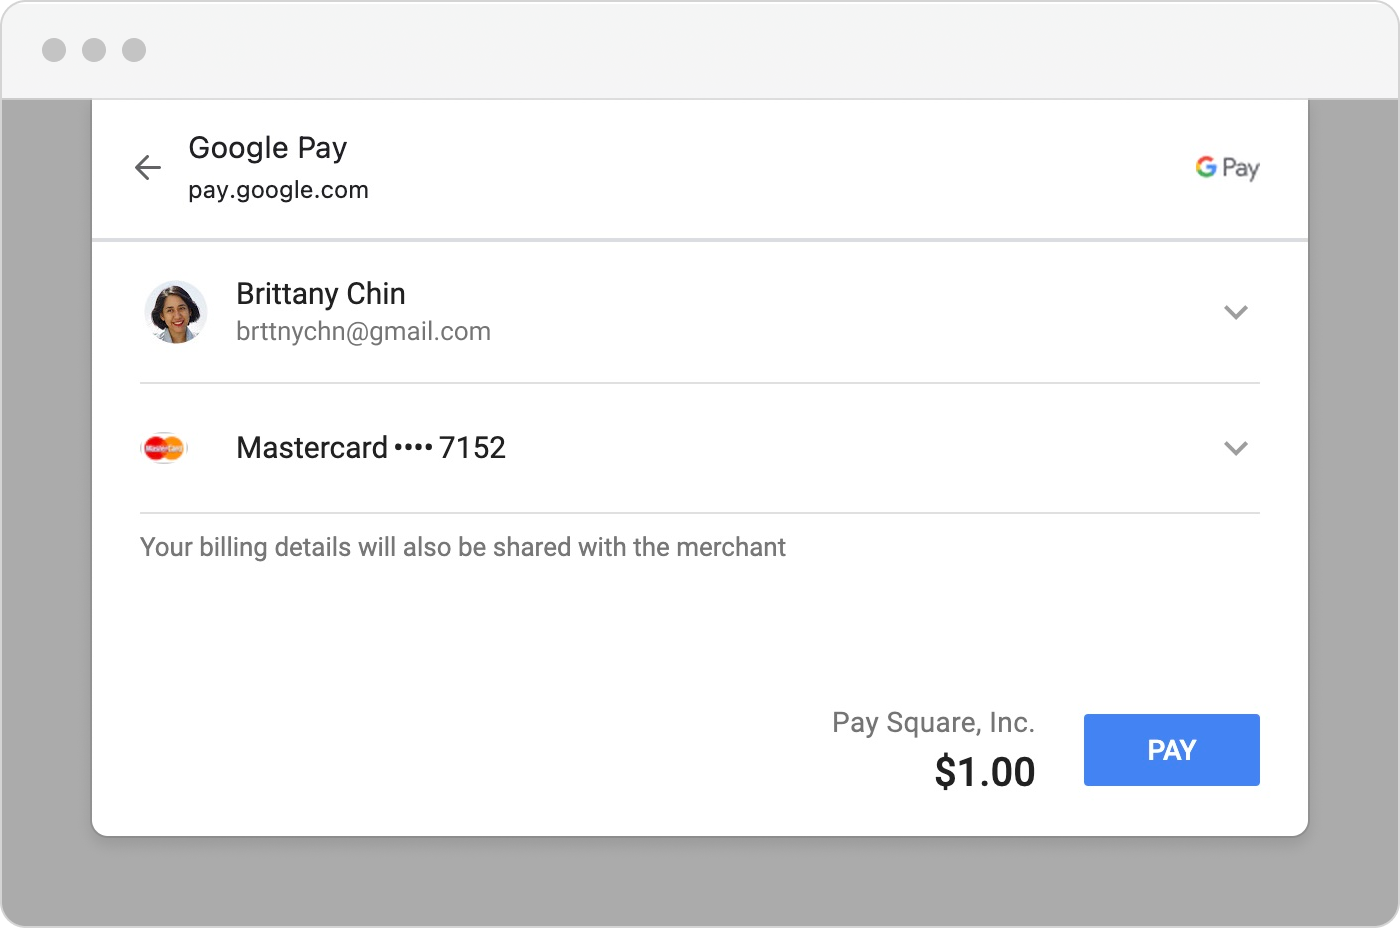
The following shows the Google Pay pay sheet rendered by the Web Payments SDK:
You can find a complete example of the Google Pay code on GitHub.
- Google Pay is supported on Google Chrome, Mozilla Firefox, Apple Safari, Microsoft Edge, Opera, and UCWeb UC browsers.
- Google Pay requires HTTPS.
- WebView Support: Google Pay works in Android WebView and iOS WKWebView with additional configuration (see WebView Support section below).
- You must read and adhere to Google Pay API Terms of Service, Google Pay API Acceptable Use Policy, and Google's brand guidelines.
The Google Pay payment method needs information about the buyer and the payment amount before it can open the Google Pay sheet. Your application creates a PaymentRequest object to provide that information and then gets a new GooglePay object initialized with it.
The following code creates the payment request and attaches the GooglePay method to the page:
Add an HTML element to the prerequisite walkthrough form with an ID of
google-pay-button. The HTML for the body of index.html should look like the following:<form id="payment-form"> <!-- Add the google-pay-button div below --> <div id="google-pay-button"></div> <div id="card-container"></div> <button id="card-button" type="button">Pay $1.00</button> </form> <div id="payment-status-container"></div>Add the following two functions to your script tag:
 function buildPaymentRequest(payments) {
   return payments.paymentRequest({
     countryCode: 'US',
     currencyCode: 'USD',
     total: {
       amount: '1.00',
       label: 'Total',
     },
   });
 }

 async function initializeGooglePay(payments) {
   const paymentRequest = buildPaymentRequest(payments)

   const googlePay = await payments.googlePay(paymentRequest);
   await googlePay.attach('#google-pay-button');

   return googlePay;
 }
In the
DOMContentLoaded eventListener, add the following code after you initialize theGooglePaymethod:let googlePay; try { googlePay = await initializeGooglePay(payments); } catch (e) { console.error('Initializing Google Pay failed', e); // There are a number of reasons why Google Pay might not be supported. // (e.g. Browser Support, Device Support, Account). Therefore you // should handle initialization failures, while still loading other // applicable payment methods. }
Test the application
Navigate to http://localhost:3000/ in your browser.
Success
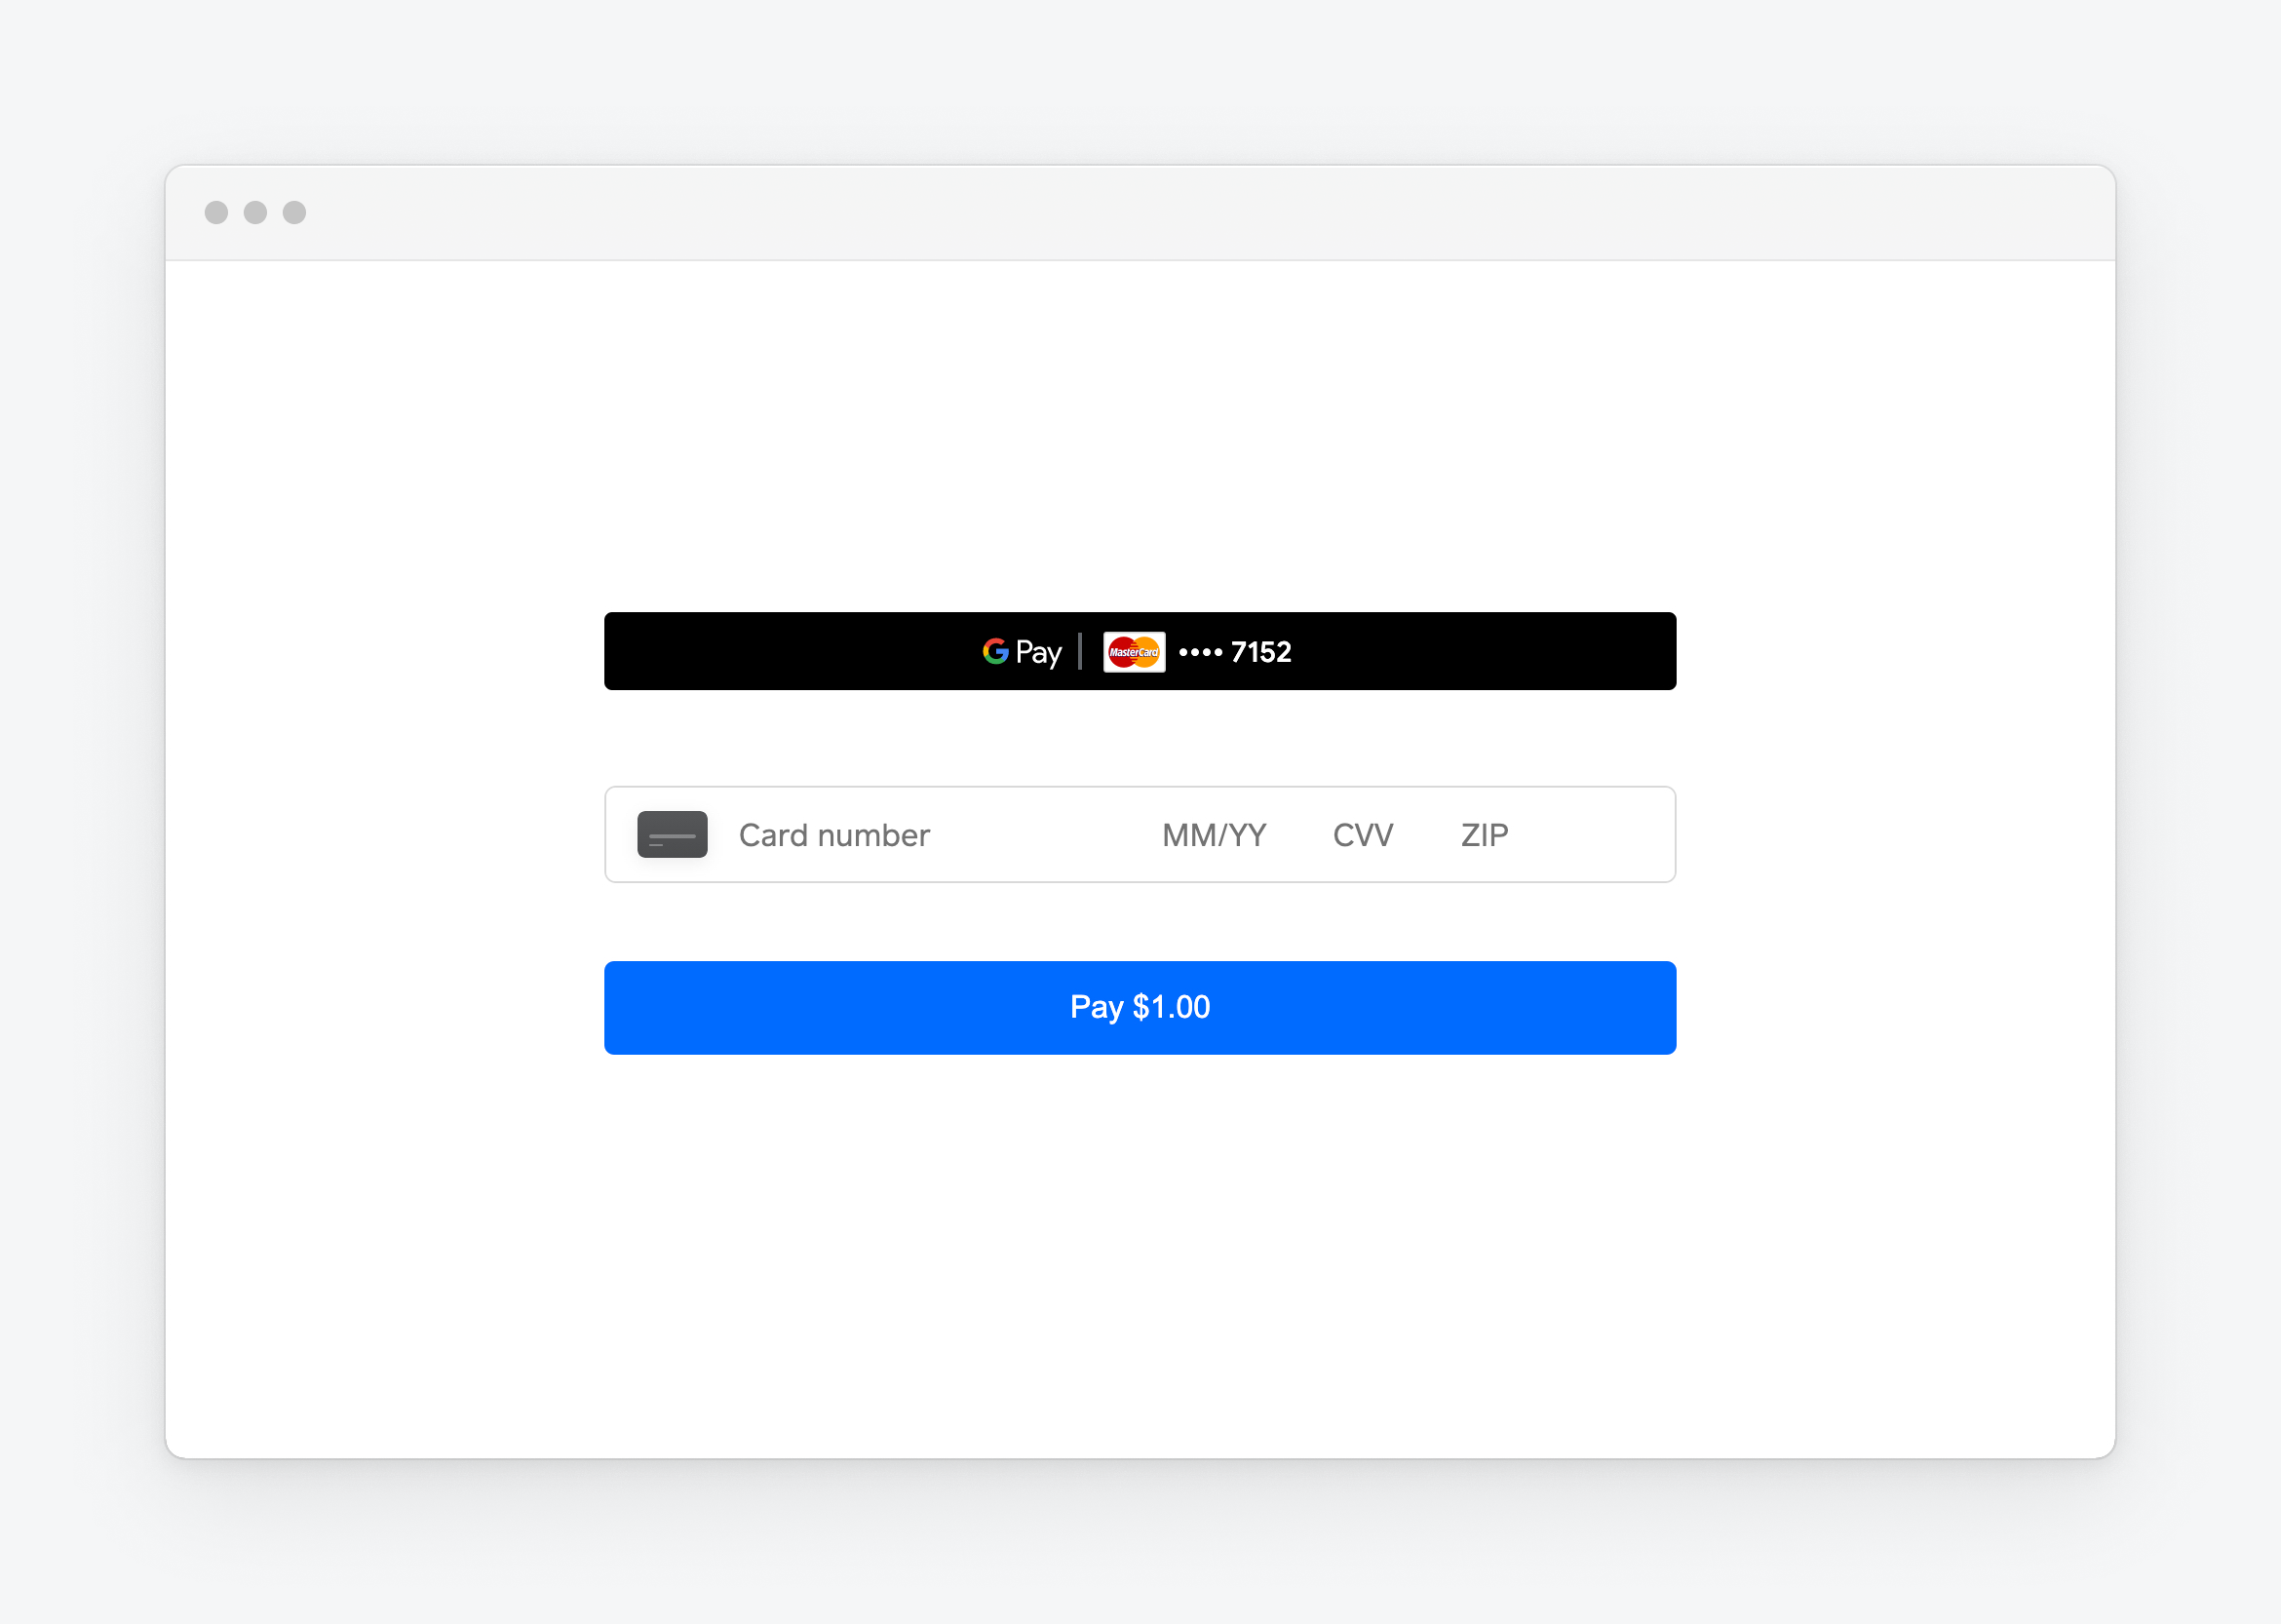
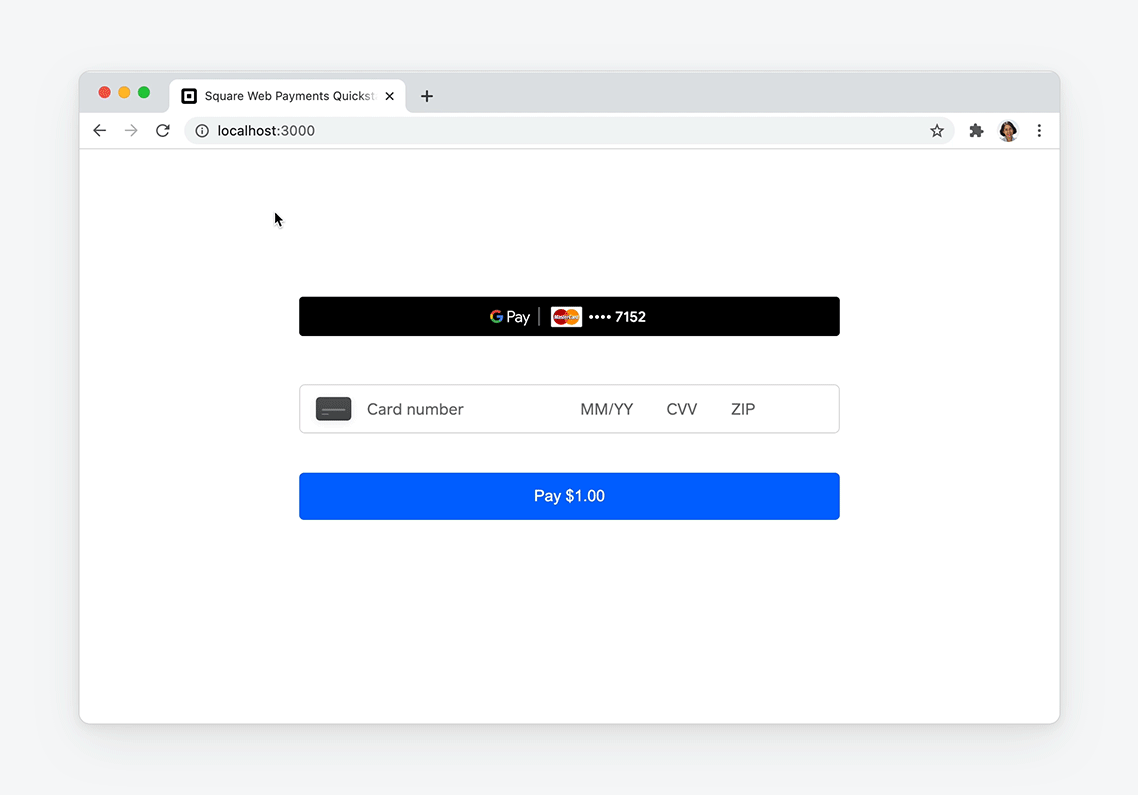
You should see the Google Pay button rendered on your page.
This step uses the standard configuration options for the Google Pay button. More options to customize the Google Pay button with the GooglePay.attach() method and the googlePayButtonOptions object are available in the Web Payments SDK technical reference.
Add the following code after
// Checkpoint 2in theDOMContentLoaded eventListenerfunction:if (googlePay !== undefined) { const googlePayButton = document.getElementById('google-pay-button'); googlePayButton.addEventListener('click', async function (event) { await handlePaymentMethodSubmission(event, googlePay); }); }
Test the application
Navigate to http://localhost:3000/ in your browser.
Choose the Google Pay button.
Use your own personal card. This card isn't charged or stored in the Sandbox environment.
Success
You should see the Google Pay form and be able to complete a payment.
Before your application can request a digital wallet payment, it must provide payment request details that the digital wallet page shows to the buyer. The previous examples show a payment request with a specified country, currency, and payment amount. In production use, your application might need to declare payment requests that include more detail and with added event listeners. To learn more about advanced payment requests, see Payment Requests.
Important
To enhance payment security, use the verifyBuyer function to apply Strong Customer Authentication (SCA) and verify the cardholder's identity. SCA should be used for all customer-initiated transactions, including digital wallet payments. If SCA isn't initiated for digital wallet payments, the transactions might be declined due to a lack of authentication.
Square provides dedicated mobile SDKs for native application development: the In-App Payments SDK for online payments with customizable payment screens, and the Mobile Payments SDK for in-person payments. Alternatively, if you want to reuse your web payment implementation in mobile apps, you can use the Square Web Payments SDK within a mobile WebView with additional configuration.
To use Google Pay within an Android WebView:
Add the required dependency to your
build.gradlefile:dependencies { implementation 'androidx.webkit:webkit:1.14.0' }Add required queries to your
AndroidManifest.xml:<queries> <intent> <action android:name="org.chromium.intent.action.PAY"/> </intent> <intent> <action android:name="org.chromium.intent.action.IS_READY_TO_PAY"/> </intent> <intent> <action android:name="org.chromium.intent.action.UPDATE_PAYMENT_DETAILS"/> </intent> </queries>Enable the Payment Request API in your WebView configuration:
import android.webkit.WebSettings;
import android.webkit.WebView;
import androidx.webkit.WebSettingsCompat;
import androidx.webkit.WebViewFeature;

AndroidView(
    factory = {
        // Update WebView settings to allow JavaScript and payment request
        settings.javaScriptEnabled = true
        WebView(it).apply {
            if (WebViewFeature.isFeatureSupported(
                    WebViewFeature.PAYMENT_REQUEST)) {
                WebSettingsCompat.setPaymentRequestEnabled(settings, true);
            }
        }
    },
    update = {it.loadUrl(url)
    }
)
For detailed implementation steps, see Google's documentation for Android WebView.
For web applications embedded in WebViews or that use popups, configure your server's Cross-Origin-Opener-Policy header to prevent payment errors:
Cross-Origin-Opener-Policy: same-origin-allow-popups
Important: Using Cross-Origin-Opener-Policy: same-origin can cause Google Pay to fail with a 400 error (OR_BIBED_15) on iOS devices, even when the Google Pay button renders correctly. For more details on troubleshooting this error, see Google's troubleshooting guide.