Applies to: Bookings API
Learn how to onboard a seller account or developer Sandbox account to the Bookings API.
To use the Bookings API and test your application built on the API, the Square Appointments services must be activated for targeted Square seller accounts. The process is known as onboarding and is a one-time operation performed in the Square Dashboard by the targeted seller. For testing purposes, you can use the following instructions to onboard your own Square account to Square Appointments.
If you use your regular Square account to build and test a booking-related application, you must activate the Production account for the Bookings API. When Square sellers sign up for your application for booking appointments with their businesses, they or their representatives must onboard their Square Production accounts to Square Appointments. The following steps guide you through the process to onboard a Production account to Square Appointments.
If you haven't accessed the Square Appointments service, do the following:
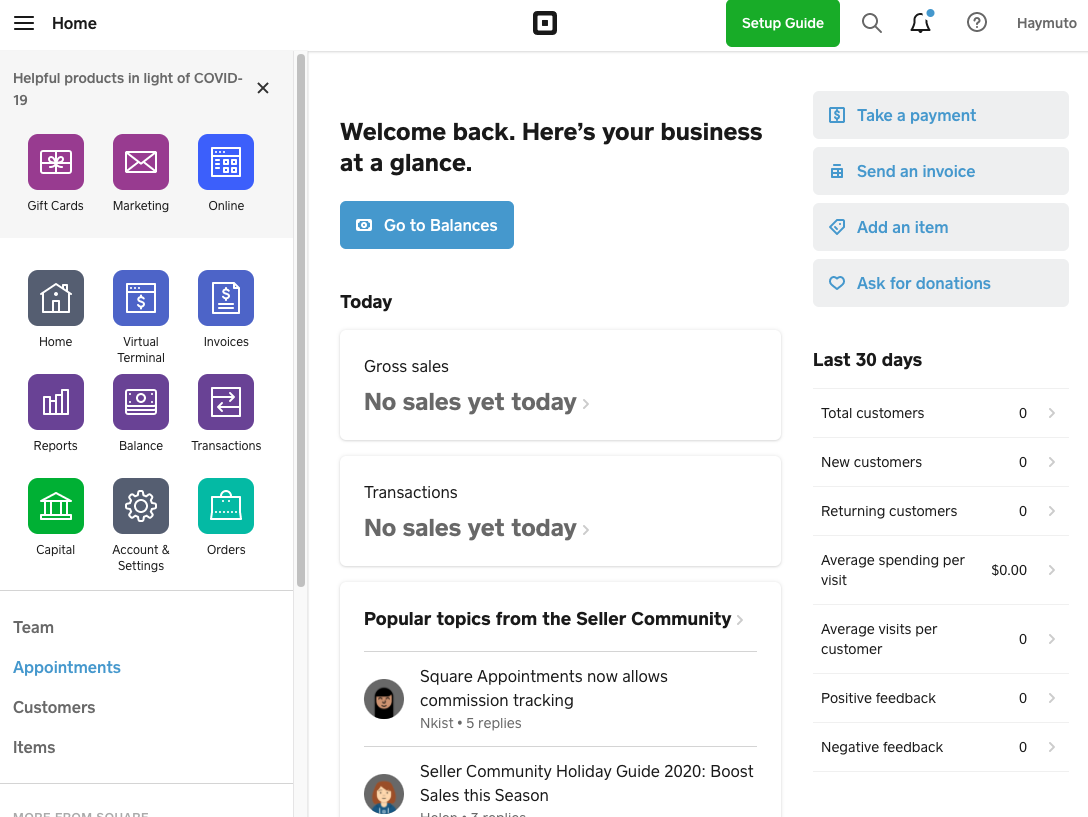
Sign in to the Square Dashboard.
In the left pane, choose Appointments.
On the Square Appointments page, choose the Get started button to start initializing the Appointments service for the account.
On the Just a few more details page, enter or modify the business details, including the name, phone numbers, and time zone. Then, choose the Get Started button again.
Choose Send Download Link to receive a download link on the specified mobile device to install the Square Appointments application or choose Skip to forgo the option.
On the Appointments page, choose Select New Subscription to subscribe to a paid Appointments plan, if you want this account to support creating, updating, and canceling seller-level bookings. Then, choose Add payment method to provide a credit card on file or choose Update payment method to update the credit card on file.
Note
You can skip this step if the account won't be enabled for any paid subscriptions.
On the Appointments page, choose Services in the left pane. Then, choose Create Service to add a new bookable service or choose an existing one from the list to update the bookable service.
Note
As an alternative, you can call the Catalog API to create a bookable service and skip this step.
On the Appointments page, choose Staff in the left pane. To add a staff member, choose the Add Employee button at top-right corner to create a new employee and make the new employee a staff member of the business.
The new employee is assigned a supported role and granted appropriate permissions including services the staff member can provide, whether customers can choose the staff member during an online booking, the staff member's hours, or management of the staff member's compensation.
Although you can use the Team API to create a team member, you must follow this step to add a staff member.
Optionally, choose Customer directory in the Square Dashboard to add one or more users of your application to the directory. Such application users are clients to receive booked services from the seller.
Note
As an alternative, you can call the Customers API to add users as booking clients and skip this step.
The Square Production account is now onboarded to Appointments and to the Bookings API. To verify this, follow the instructions in Retrieve a business booking profile to retrieve the business booking profile of the seller.
Before a seller signs up for your application to let their customers make appointments, you can ask them to follow these or similar instructions to onboard their Square accounts to Square Appointments.
As an application developer, you might want to use your Square Sandbox developer account to test your applications using the Bookings API before deploying them for your customers to use. To do so, you must onboard the Sandbox account to Square Appointments and the Bookings API.
Onboarding a Sandbox account is similar to onboarding a Production account. It is a one-time initialization performed in the Square Dashboard with your Sandbox account credentials. However, you must go through the Square Developer Console to sign in to the Square Dashboard with the Sandbox account credentials.
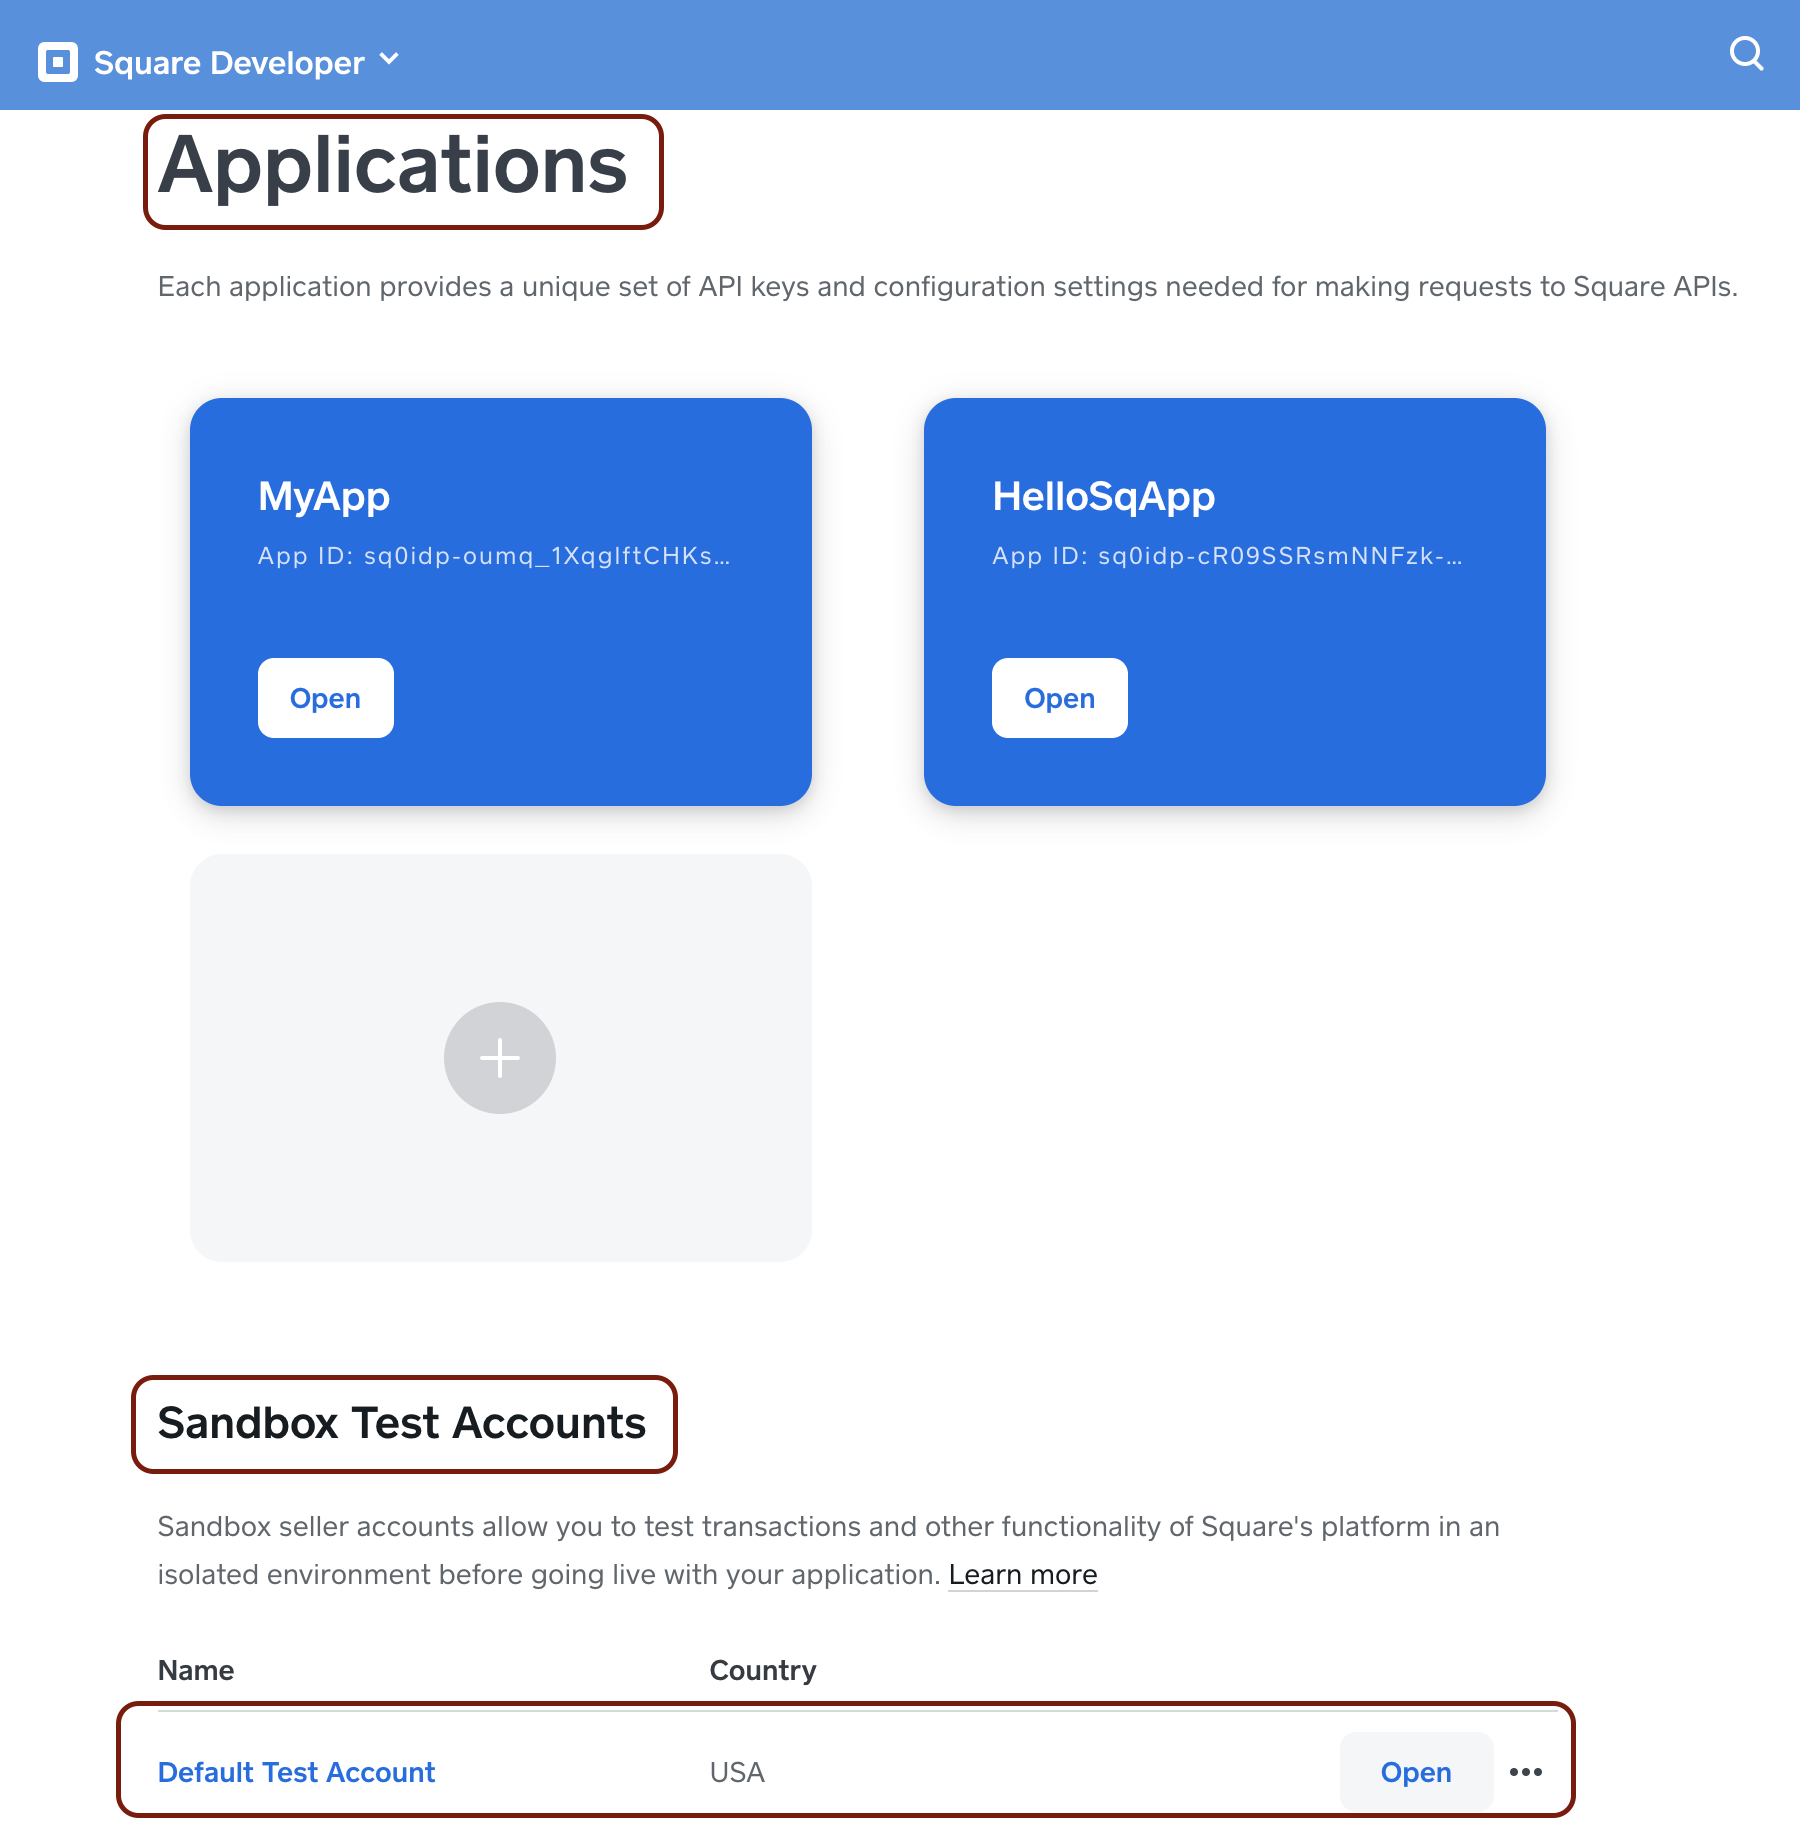
Sign in to the Developer Console. Create an application if this is your first time.
Under Applications in the Sandbox Test Accounts section, choose Open to the right of Default Test Account to open the Square Dashboard with the default test account credentials.
Note
The default test account is created for you as a Sandbox test account when you sign up for your developer account. You cannot delete the default test account. However, you can create a custom Sandbox test account, follow the same steps to onboard the custom test account to Square Appointments, and use the custom test account to test your bookings applications.
Follow steps 2–9 in Onboard a Production account to finish onboarding the Sandbox account.
To verify whether your Sandbox account is onboarded to use the Bookings API, follow the instructions in Retrieve a business booking profile with your Sandbox account credentials to verify the Sandbox account booking profile.
To test Bookings API integration with Appointments Plus or Appointments Premium in the Square Sandbox, you can subscribe to Appointments Plus or Appointments Premium in the Sandbox Square Dashboard.
The following procedure describes how to subscribe your default test account to Appointments Plus or Appointments Premium using a test credit card that is never charged. You must repeat these steps for each test account that you want to subscribe to Appointments Plus or Appointments Premium.
- Open the Developer Console.
- In the Sandbox Test Accounts section, choose Open next to Default Test Account. This opens the Sandbox Square Dashboard associated with the default test account.
- In the Sandbox Square Dashboard, navigate to Square Appointments to onboard the test account to Square Appointments if you haven't already done so.
- Follow the on-screen instructions to Manage subscription, and then choose the Square Appointments Plus or Square Appointments Premium subscription plan.
- If you haven't already done so, provide test credit card information to ensure that the subscription in the Sandbox doesn't expire after 30 days:
- On the Subscription Pricing page, choose Add payment method next to Payment Method.
- Enter the following credit card information, and then choose Confirm:
- For the name on the card, enter any name.
- For the card number, enter 4111 1111 1111 1111.
- For the CVV, enter 111.
- For the expiration date, enter 12/40.
- For the postal code, enter 22222 or a similar value for your locale.
Note
In the production environment, each seller using your application must also have an active or trial Appointments Plus or Appointments Premium subscription to create, update, or cancel seller-level bookings.
For more information about the Sandbox environment, see Square Sandbox.