
Square In-App Payments SDK for Flutter
Easily Integrate Square Payments into your Flutter App
Square’s In-App Payments SDK lets developers accept Square-powered payments from within their own mobile apps. With the Flutter plugin for In-App Payments SDK we can take payments in Flutter.
Let’s look at how to take credit card payments in Flutter!
Step 1: Setting Up Your Developer Environment
Prerequisites:
- Flutter — Get Started (install Flutter and Xcode or Android Studio)
- Square Account (sign up here)
Step 2: Create a Flutter App
First, let’s check that Flutter is installed properly, with an emulator ready to go.
flutter doctor
No issues found! means we’re ready to proceed with creating a Flutter app.
flutter create in_app_payments
cd in_app_payments
Let’s take a look at the app we just created by opening this directory in Android Studio or Xcode. The flutter create command above generated an entire sample app! Specifically, take a look at the lib/main.dart file, which contains the app logic.
Let’s now run this default app in an emulator.
flutter run
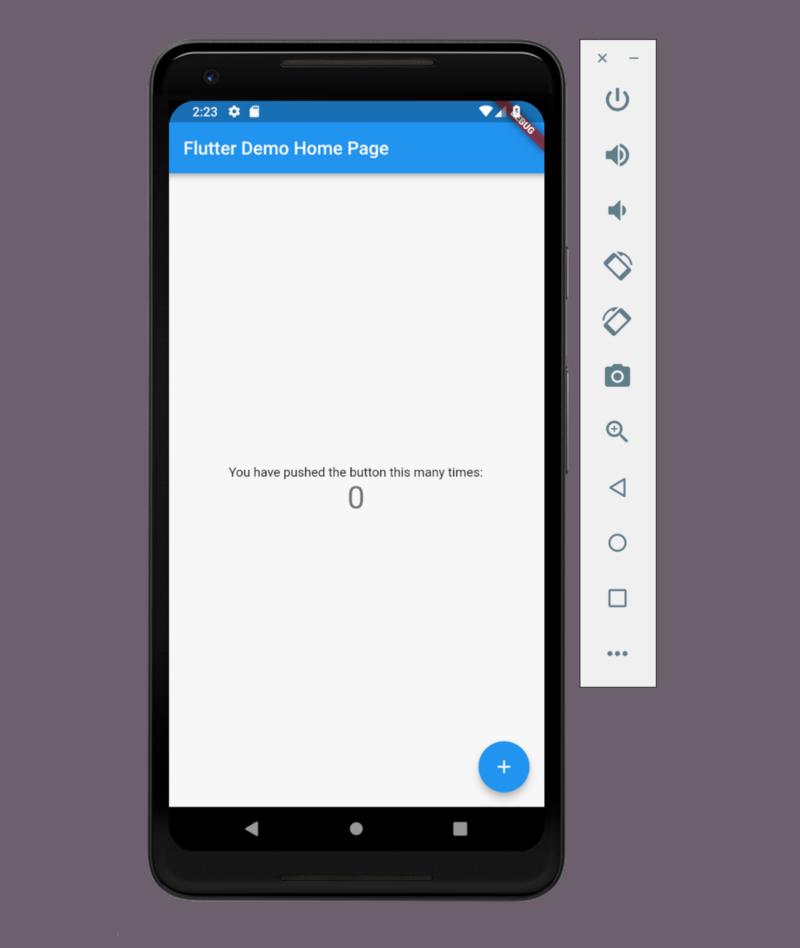
This app just has a single button. If you press it, you can see it’s just a counter that goes up each time it’s pressed.
Step 3: Add a Few Buttons
At the bottom of the lib/main.dart file, we can see that the incrementer (+) button in our generated Flutter app is a FloatingActionButton.
floatingActionButton: FloatingActionButton(
 onPressed: _incrementCounter,
 tooltip: 'Increment',
 child: Icon(Icons.add),
),
A FloatingActionButton represents the primary action for the screen, and there should be only one of them per screen. So, let’s replace the existing FloatingActionButton with a _pay function that we’ll need to implement to be the new primary action for the screen.
floatingActionButton: FloatingActionButton(
 onPressed: _pay,
 tooltip: 'Pay',
 child: Icon(Icons.payment),
),
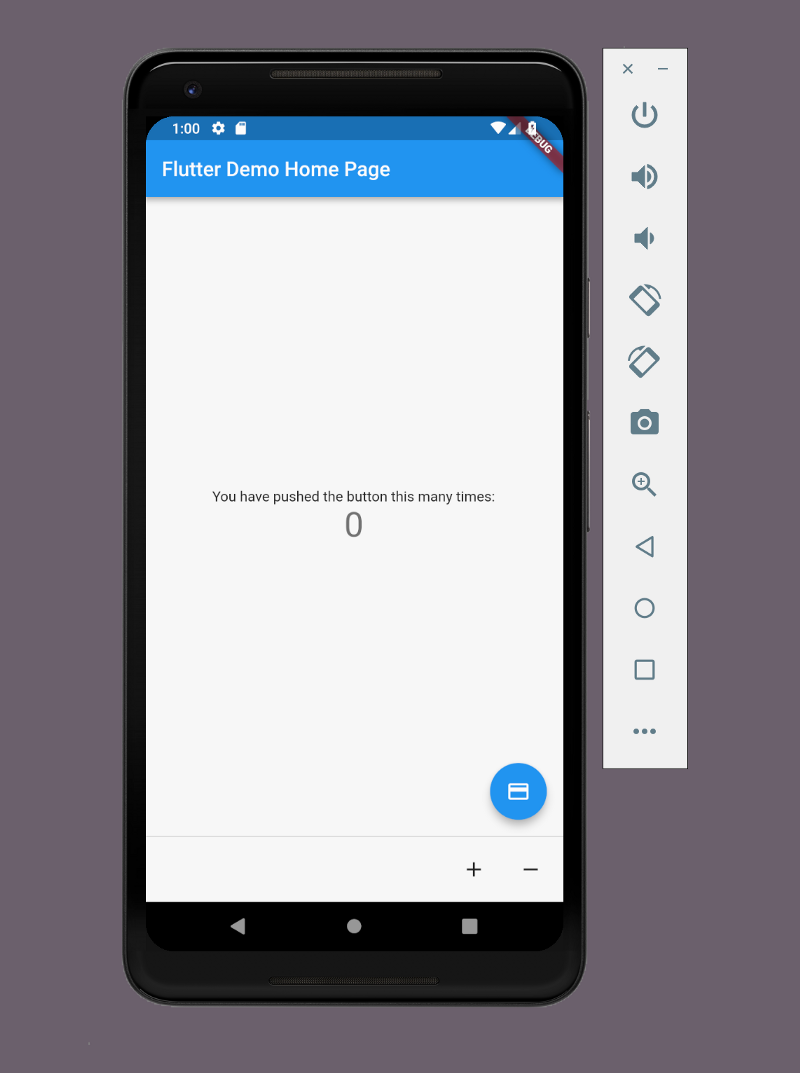
We don’t need an incrementer button for this demo — but let’s keep it around anyways, since we don’t have a real shopping cart with dollar amounts to charge. So, let’s add some new footer buttons to handle incrementing and decrementing to the code, right below the FloatingActionButton.
persistentFooterButtons: <Widget>[
 IconButton(
   onPressed: _incrementCounter,
   tooltip: 'Increment',
   icon: Icon(Icons.add),
 ),
 IconButton(
   onPressed: _decrementCounter,
   tooltip: 'Decrement',
   icon: Icon(Icons.remove),
 ),
],
We’ll now need to implement the _pay and _decrementCounter functions we use in these new buttons. Let’s also implement a way to reset the counter, and call that resetCounter. Let’s put these new functions right below the existing incrementCounter in the code.
void _decrementCounter() {
 setState(() {
   if(_counter > 0) {
     _counter--;
   }
 });
}

void _resetCounter() {
 setState(() {
   _counter = 0;
 });
}
void _pay() {
 // Add In-App Payments here!
}
Okay, let’s take a look at our new buttons! If you’re still running your emulator from the last flutter run, you can just hit “r” from your terminal for a hot reload.
Step 4: Add In-App Payments
First we’ll need to declare the plugin as a dependency by adding the square_in_app_payments: ^1.1.1 line below to the pubspec.yaml file in our app root directory.
dependencies:
  flutter:
    sdk: flutter
  square_in_app_payments: ^1.1.0
Now that it’s been declared as a dep, we can import the In-App Payments plugin at the top of our lib/main.dart file.
import 'package:square_in_app_payments/in_app_payments.dart';
import 'package:square_in_app_payments/models.dart';
Now that it’s imported, we have the InAppPayments module available to implement a credit card payment for our mobile app user.
Let’s now implement the In-App Payments _pay function that we wired up to the main FloatingActionButton on the screen.
void _pay() {
 InAppPayments.setSquareApplicationId('APPLICATION_ID');
 InAppPayments.startCardEntryFlow(
   onCardEntryCancel: _cardEntryCancel,
   onCardNonceRequestSuccess: _cardNonceRequestSuccess,
 );
}
The two functions we call here from InAppPayments are setSquareApplicationId and startCardEntryFlow. Let’s look a bit closer at these two functions:
InAppPayments.setSquareApplicationId
Change 'APPLICATION ID' in the setSquareApplicationId to be a real application ID from your Square Application Dashboard. It also might be nicer to just call the setSquareApplicationId function once when we initialize our module, but it’s also fine to do it in our payment button like this.
InAppPayments.startCardEntryFlow
This function is what starts the card entry flow! We’ll want to define two callbacks, one for when the user cancels and the other for when the customer successfully enters a card and gets back a card nonce. We can name these callbacks whatever we like, but let’s call them _cardEntryCancel and _cardNonceRequestSuccess today.
The _cardEntryCancel function is for when a customer cancels out of the card entry flow. We don’t want to do anything when a customer cancels, so let’s just implement a placeholder.
void _cardEntryCancel() {
 // Cancel
}
Now we’re on to the case where the user successfully enters a card and we get back a nonce.
void _cardNonceRequestSuccess(CardDetails result) {
 // Use this nonce from your backend to pay via Square API
 print(result.nonce);

 final bool _invalidZipCode = false;

 if (_invalidZipCode) {
   // Stay in the card flow and show an error:
   InAppPayments.showCardNonceProcessingError('Invalid ZipCode');
 }

 InAppPayments.completeCardEntry(
   onCardEntryComplete: _cardEntryComplete,
 );
}
The _cardNonceRequestSuccess function being called means we’ve gotten a card nonce back! A nonce is a single user token we can use to send private card data to Square from our backend to make a payment.
In this example, we have a fake bool that we can toggle to pretend we did or didn’t have an invalid postal code. If the postal code is valid, we’ll call _cardEntryComplete. If the postal code is invalid, we won’t leave the card entry flow. Instead, we’ll call showCardNonceProcessingError so the customer can correct the postal code.
Now we just have one more function to implement, _cardEntryComplete. This is the happy path where our backend reports a successful payment.
void _cardEntryComplete() {
 // Success
 _resetCounter();
}
Here, we’ll just reset our counter for fun — but you’d actually want to show a user a receipt, clear your shopping card, or that sort of thing here.
That’s it, we’ve added payments to our Flutter app. Let’s restart our emulator so Flutter can add the In-App Payments plugin dependency and take a look at how this works!
If you’re planning on building something on Square using our Flutter In-App Payments plugin and want to write about it (or anything else Square related), please hop into our Square developer Slack community and let us know (you can join just to say “hi” too). We’re always happy to chat about whatever you’re working on.
If you want to keep up to date with the rest of our content, be sure to follow this blog & our Twitter account, and sign up for our developer newsletter!
Authored By


