
Building a Sandbox Dashboard Pt. 2: Adding a Transactions List
Following Part 1 of our series building out a sandbox Dashboard, we’ll show you how to add transaction reporting functionality.
At the end of the last post, we created a basic copy of your Square Dashboard that was able to retrieve your location information. In this post we’ll use Square’s transaction reporting APIs to list out completed transactions within the sandbox account. Let’s take a look at the work we’ve done so far:

We have a page with a layout similar to Dashboard with only one tab: Locations. We also have a couple input fields to add in your access token and chosen location id. Keep in mind that these are for tutorial purposes only! You don’t want to expose access tokens on the client side in a production environment.
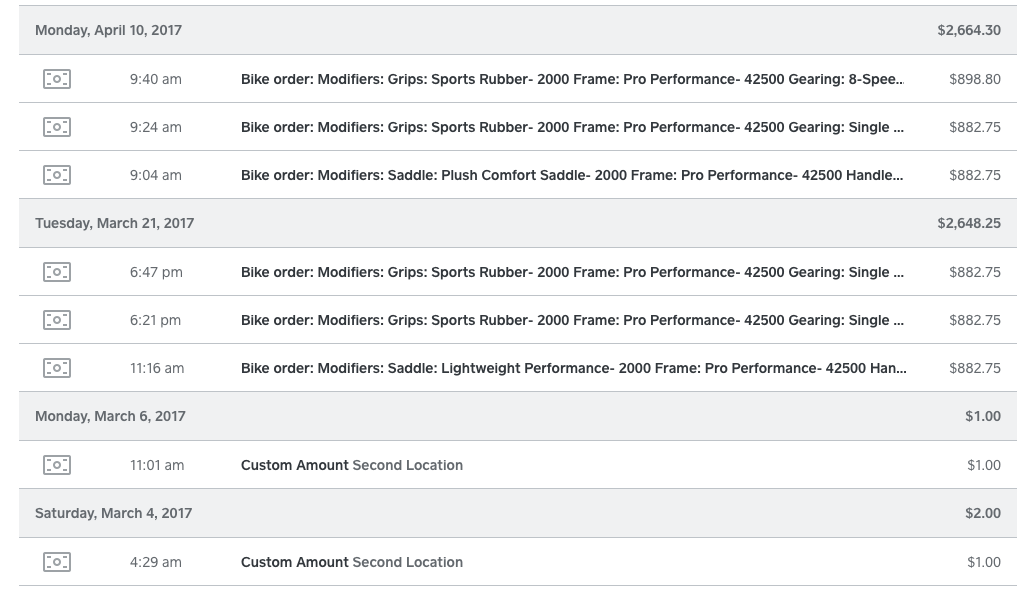 Square Dashboard view of transaction history. We want to replicate this for a sandbox dashboard.
Adding Transactions
The first step in building the transaction display page is adding some navigation to get to it. Let’s add some code to the nav bar:
<div class=”nav-item”>
  <a href=”/locations.php”>Locations</a>
**  <a href="/transactions.php">Transactions</a>
**</div>
And add a new transactions.php file. We’ll use the same structure for the code we wrote to list locations in part one, such as using the shared header.php and having error messages displayed for missing parameters. Instead of making large blocks with the transactions like we did for locations, we’ll print the transaction information into rows, similar to the Square Dashboard.
First, configure your access token from the one that is stored in your session and create a new object to interact with the API.
SquareConnect\Configuration::getDefaultConfiguration()->setAccessToken($_SESSION['at']);

$transactionApi = new SquareConnect\Api\TransactionsAPI();
Then we’ll call the List Transactions endpoint, and iterate though the result, displaying a new row for each transaction with its timestamp, amount, and transaction id as well as an indication whether the payment has been refunded.
<?php
 $result = $transactionApi->listTransactions($_SESSION['location']);
 ?>

   <div style="display:flex;flex-direction:column;">
    <div class="row">
     <div>timestamp</div>
     <div>Refunded?</div>
     <div>Note</div>
     <div>transaction id</div>
     <div>Amount</div>
    </div>
    <?php foreach ($result->getTransactions() as $transaction) {?>
    <div class="row">
     <div class="timestamp">
      <?php echo date("g:ia \<\b\\r\> F NS, Y",strtotime($transaction->getCreatedAt()));?>
     </div>

     <div>
      <?
      //Display a notice if the transaction was refunded.
      if ($transaction->getRefunds()) {
       echo "Refunded" ;
      }
      ?>
     </div>

     <div>
      <?php echo $transaction->getTenders()[0]->getNote();?>
     </div>
     <div>
      <?php echo $transaction->getId(); ?>
     </div>
     <div>
      <?php echo '$'.$transaction->getTenders()[0]->getAmountMoney()->getAmount()/100 ?>
     </div>
    </div>
Now we have a table of all the transactions for the sandbox account credentials provided:
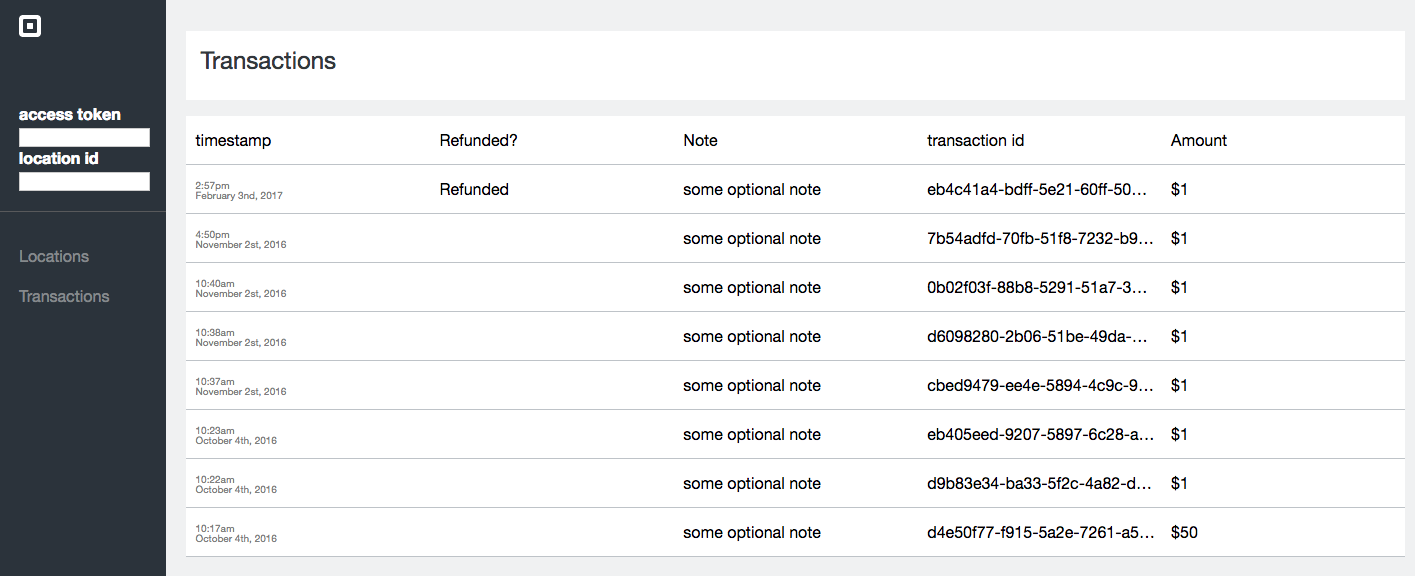 A list of my sandbox transactions!
Here I chose to only display a snapshot of the information provided, but it should be a good starting point to exposing the transaction information for your sandbox account. Remember that you can use tools like Postman to easily see your sandbox account details as well. Follow this blog, and @SquareDev on Twitter to find out about Part 3 in the series! And, revisit Part 1 here.
Authored By

