
Using Square’s REST APIs to Build a Sandbox Dashboard Part 1: Authentication & Locations.
One of the things we hear most often from our developers is the lack of a dashboard for their sandbox accounts. This will be the first post…
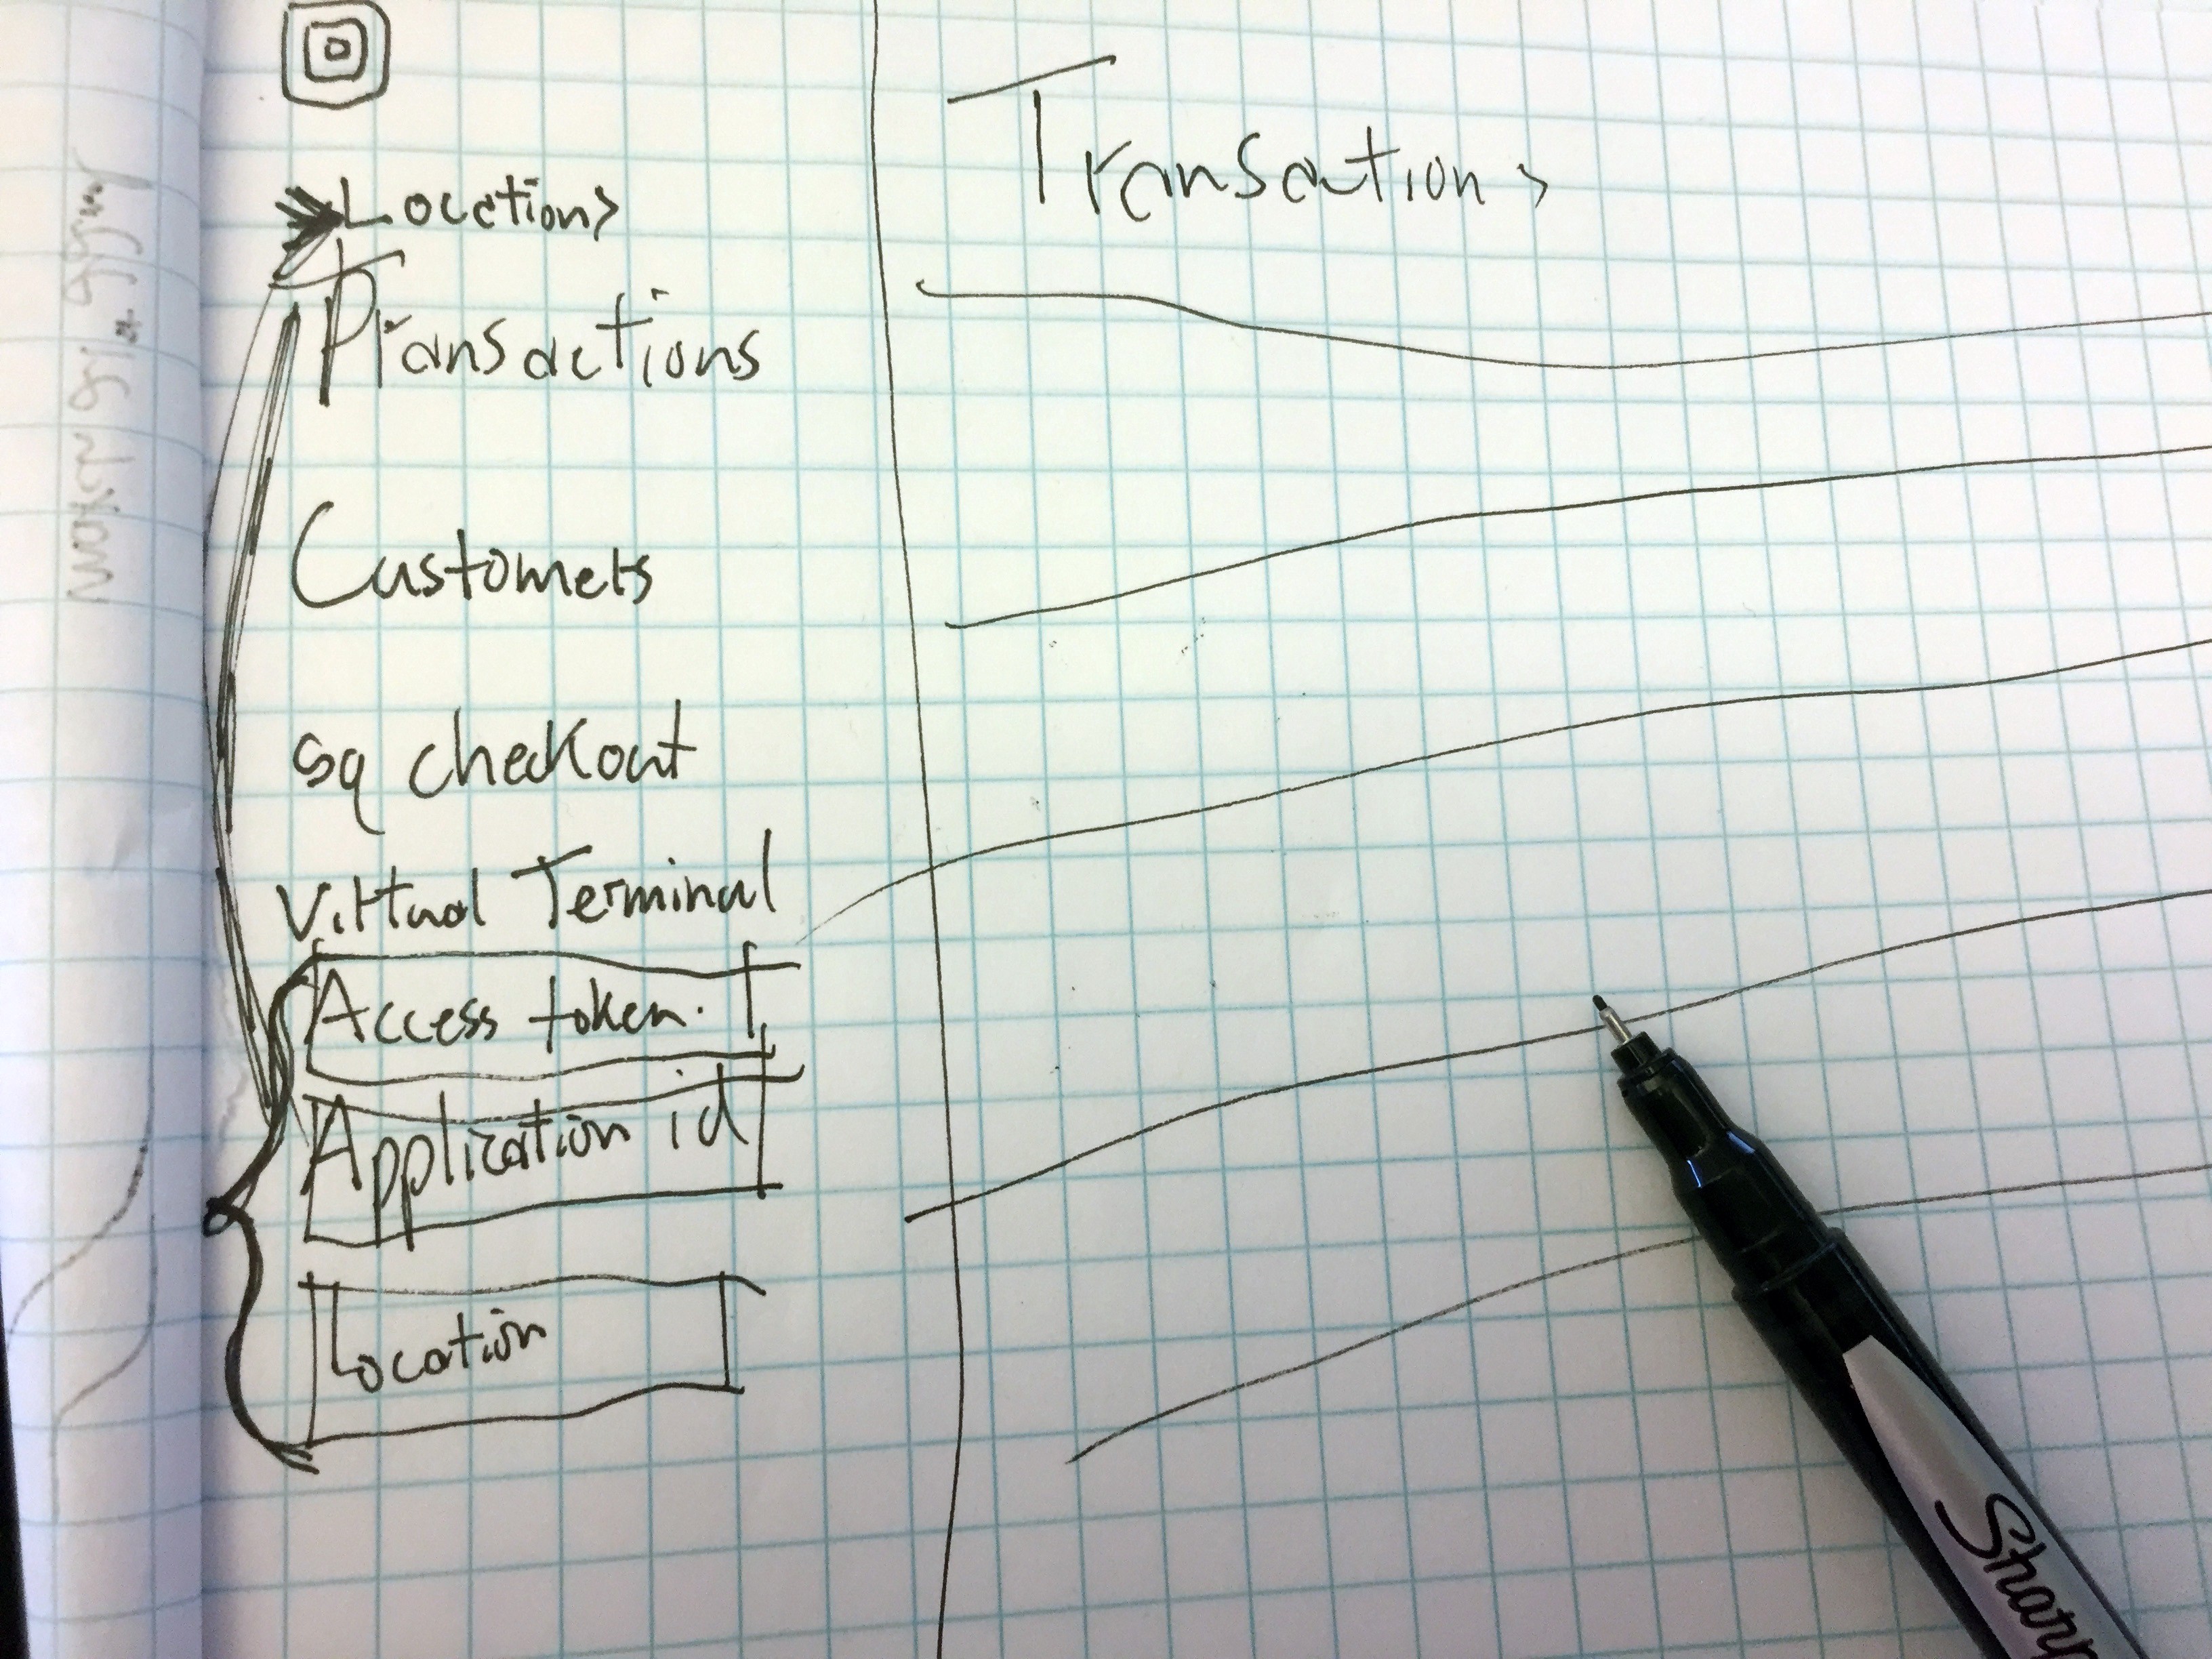 initial sketch… or entry in world’s worst handwriting contest?
Building the Square Dashboard
At Square, there is a whole team dedicated to our Dashboard, and I’m not going to get close to replicating all the work they have done. I will however start with some boilerplate HTML that sets up the general structure of the page, as well as some JavaScript and CSS to make the page more usable. Plus, the dashboard for sandbox accounts will closely match certain visual elements of the real dashboard. My goal isn’t to create an exact replica of the Square Dashboard, but instead to make one that is functional and can be used with the sandbox credentials. I was able to make a fairly simple reproduction of the left side navigation with a couple of divs and some liberal use of the CSS flex property. I broke out the navigation into its own header.php file since it will be shared between all the pages in my app. Right now, my file structure looks like:
sandbox-dashboard/
----index.php   //The main page of the application
----header.php  //Navigation, shared code between pages
----style.css   //style 🕶
And my page looks like:
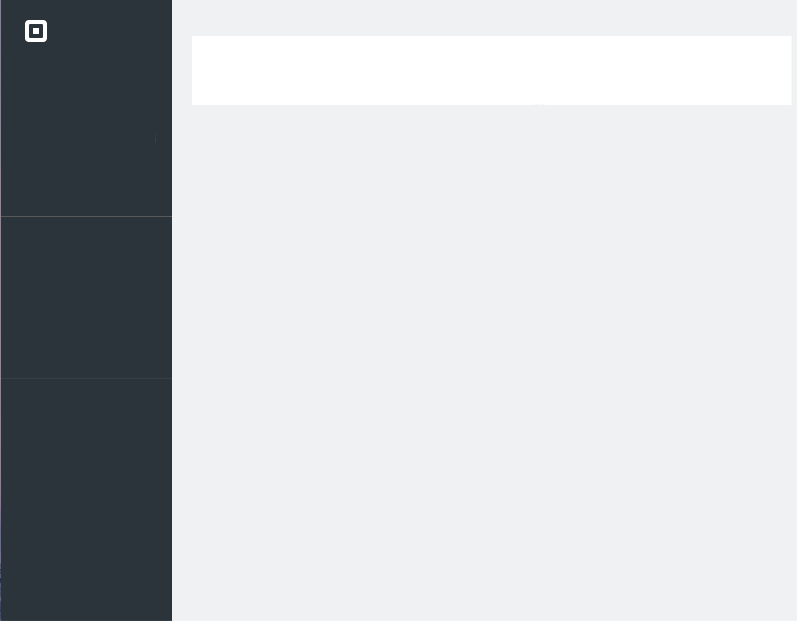 Almost looks like the real thing!
The developer sandbox
Your developer sandbox works the same as your production or “real” account, with the exception of one key difference: it’s a playground! The e-commerce transactions you take with your sandbox credentials won’t get charged, and any customer operations you take won’t affect your actual customers. At the time of writing, you aren’t able to use the API sandbox with any of the v1 endpoints, including item and employee management.
Authentication

Using the API sandbox is easy, all you have to do is use your sandbox access token instead of your personal access token, or the access token you would get from OAuth. First I’m going to add an input element to my left side navigation for you to put in the access token you want to use. Keep in mind, this is only a tutorial for you developers, you would never want to expose your secrets like this. I decided to use PHP’s sessions to keep track of your credential, and to make it easy to switch between access tokens. As soon as you paste in your sandbox (or other) access token, or do anything else to trigger a JavaScript onchange event, some in-page JavaScript will send the value to simple PHP page (setter.php) that will store the value in the session.
//in-page javascript
function setAccessToken() {
   var at = document.getElementById('access-token').value;

var xhttp = new XMLHttpRequest();
   xhttp.onreadystatechange = function() {
    if (this.readyState == 4 && this.status == 200) {
     alert("Access Token set");
     console.log(this.responseText);
    }
   };
   xhttp.open("POST", "setter.php", true);
   xhttp.setRequestHeader("Content-type", "application/x-www-form-urlencoded");
   xhttp.send("at="+at);
}
--------------------------------------------------

//setter.php
<?php
session_start();
if (isset($_POST['at'])){
 $_SESSION["at"] = $_POST['at'];
 echo 'success';
}
else{
 echo "failure";
}
?>
Locations
Nearly all of Square’s REST endpoints require you to supply a location parameter in the URL of the request. Square Dashboard lets you select a locations with an intricate series of modals and drop downs. I’m only going to list the locations and let you specify the ID of the location you want to use, but to do that I’ll need to add the code to list the locations. I’ll use Square’s PHP SDK to call the List Locations endpoint, and display them on the screen. First I’ll add a composer.json file and add the appropriate version of the SDK to it.
{
    "require": {
        "square/connect": "dev-release/2.1.0"
    }
}
A quick composer install gets all the dependencies installed, and all I need to include in my header.php is require(‘vendor/autoload.php’); to have access to the SDK’s functions (like listLocations();).
I added a new locations.php file, and added some logic to list the locations for the provided access token, and simply dump them out on the screen.
<?php
 if(!$_SESSION['at']){
  echo 'Looks like you need to set your access token on the right. Go to your <a href="connect.squareup.com/apps/">Developer Portal</a> to find it.';
 }else{
  SquareConnect\Configuration::getDefaultConfiguration()->setAccessToken($_SESSION['at']);
  $locationApi = new SquareConnect\Api\LocationsApi();
  try {
   $result = $locationApi->listLocations();
   echo '<div style="display:flex">';
   foreach ($result->getLocations() as $location) {
    echo '<div class="location">';
    echo '<h2>',$location->getName(),'</h2>';
    echo '<em>',$location->getId(),'</em>';
    echo '<pre>';
    var_dump($location);
    echo "</pre>";
    echo '</div>';
   }
   echo '</div>';
  } catch (Exception $e) {
   echo 'Exception when calling LocationsApi->listLocations() with the access token <strong>',$_SESSION['at'],'</strong>', PHP_EOL;
   echo '<pre>';
   echo $e->getMessage();
  }
 }
Making my file structure:
sandbox-dashboard/
----index.php   //The main page of the application
----header.php  //Navigation, shared code between pages
----style.css   //style 🎉
----setter.php  // Sets session variables
----locations.php
Putting it all together gives you a quick view of your locations, and the underlying json:
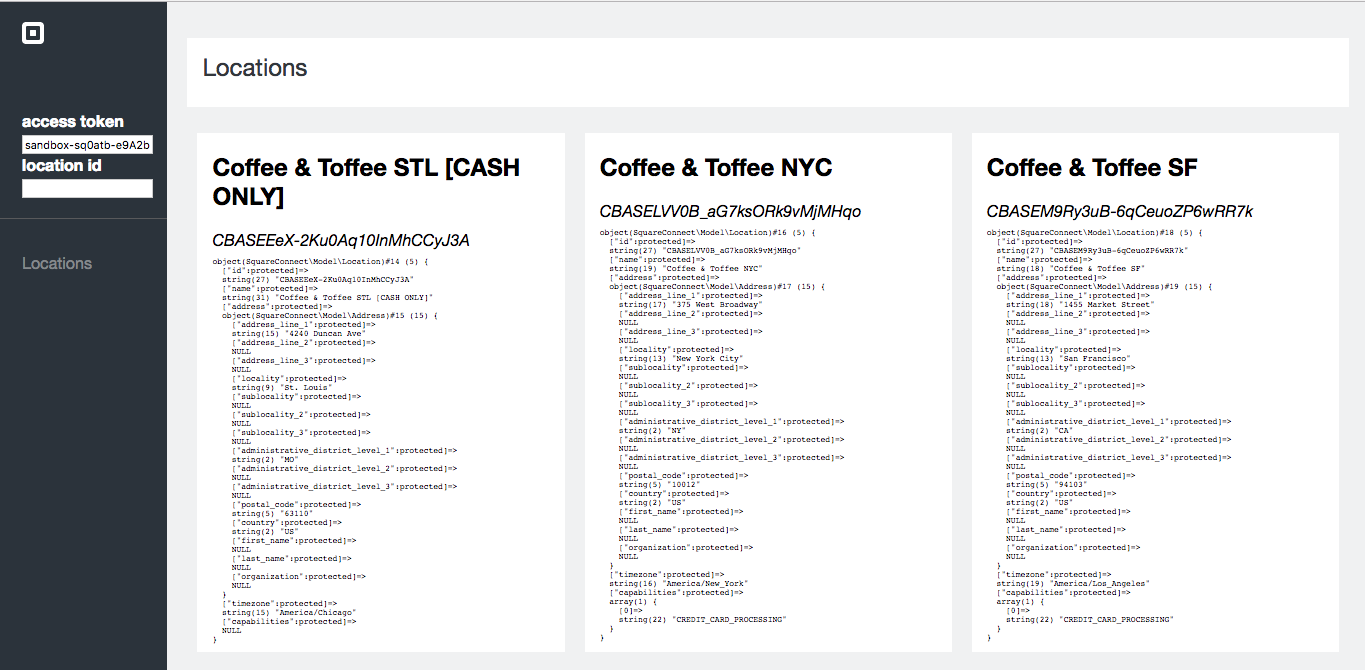 A dashboard for my sandbox locations
I hope you enjoyed the first part of our sandbox dashboard series. Follow the this blog and @SquareDev on twitter to catch part 2, where we start reporting on transactions. To learn more about the API sandbox generally, check out Testing using the API sandbox in the our documentation.
Authored By

