
Accept Payments with Square and Vue
Easily add payments to your Nuxt app!
If the thought of implementing online payments makes your stomach churn, you’re not alone. Building an online payment flow can be very intimidating. Afterall, an unsecure payment process can have serious repercussions for your business. Luckily, Square is here to help relieve you of all your worries and get you up and running with a safe and secure payments implementation.
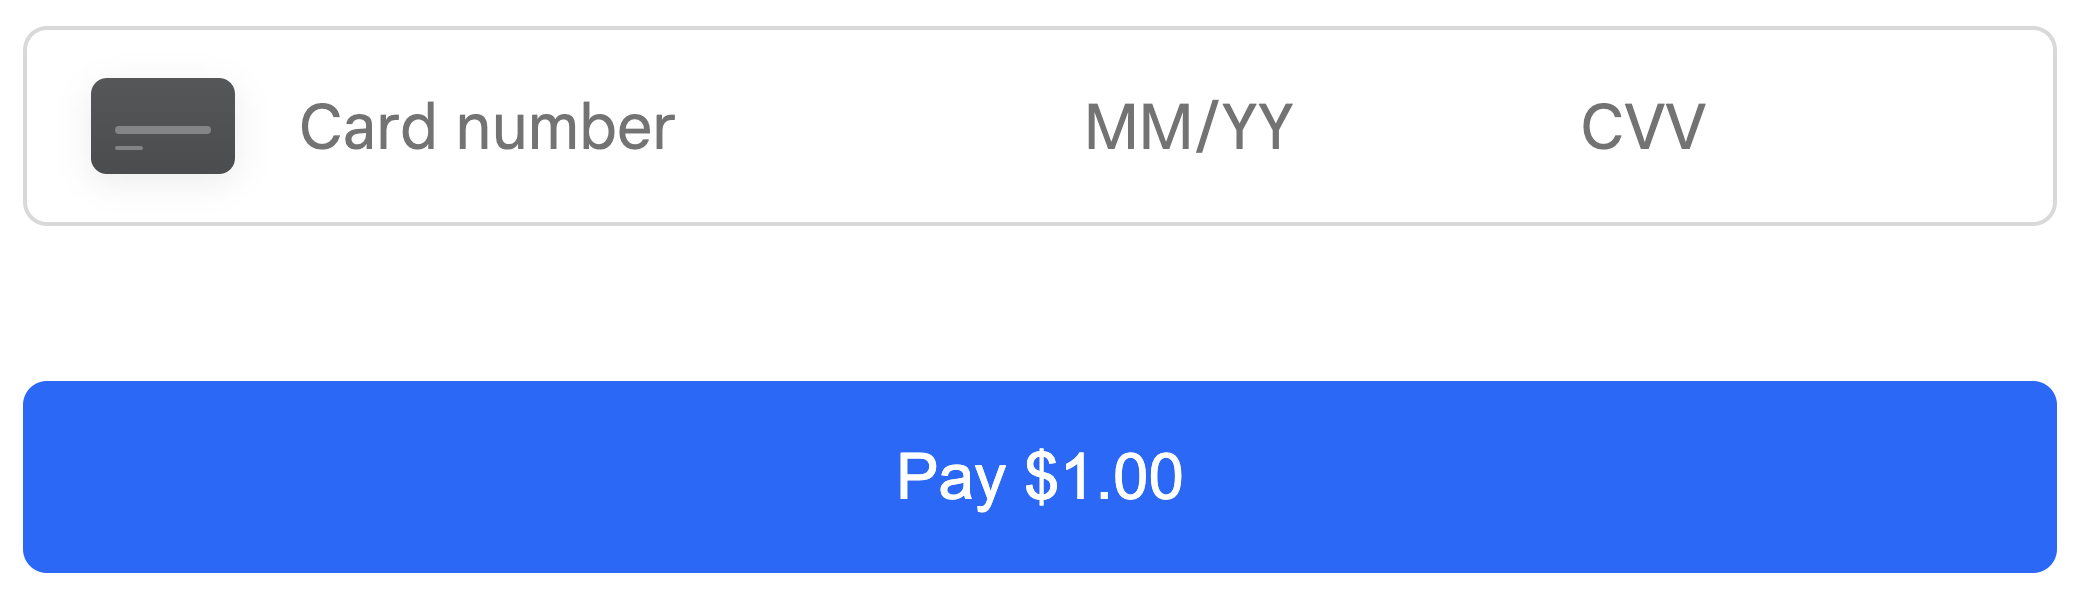
In this tutorial, we’re going to take you through the process of integrating a simple and secure payment flow into your app step by step. We’re going to use the Square Web Payments SDK and the Square Payments API to get us up and running so you can start accepting payments online. To help us out, we’re also going to be using Nuxt as our framework for this project. Nuxt is a full stack framework built on top of Vue.js that provides a lot of great features that will help simplify our payments implementation. By the end of this tutorial, you’ll have a fully functional and secure payment flow that accepts credit card payments. Here's what the final result will look like:
This tutorial requires a basic understanding of Vue and Nuxt. All of the code for this tutorial can be found in the accept-payments-with-square-and-vue Github repo.
Now that we have a general idea of how to process a payment, let’s break down each step and dive into the details that make this work.
Create a credit card payment form
The first step of building a payment flow is creating a form that accepts credit cards. Fortunately for us, the Square Web Payments SDK takes care of a lot of the heavy lifting in this step. In order to use the Web Payments SDK, we need to add a Square script tag to the <head> of our page. To configure this in a Nuxt application, we can add a head object to the nuxt.config.ts file which includes a reference to the script we need.
With our script added, we can start to create our payment form. In our main index.vue file, let's add the following form:
We can also add some CSS to style our button.
You'll notice that our form includes a div with an id of "card-container". This div is meant to be a placeholder for where our card input field will go. We'll need to use the Square Web Payments SDK to create a secure input field in that slot. Let’s do this in a function called initializePaymentForm.
There are three things going on in this initializePaymentForm function. Let's break it down:
-
First, we're checking to make sure the
Squareobject exists. This object comes from that script that we added earlier in the Nuxt config file. This won’t work without that script. -
Next, we're initializing the Web Payments SDK by calling
Square.payments(appId, locationId). I've definedappIdandlocationIdoutside our function, just in case we need to use them anywhere else in our app. -
Finally, we initialize the Card payment method by calling
payments.card()and storing that in a variable calledcard. We then attach our card to the placeholderdivwith anidof "card-container" in order to get our card input to display on the page.
I've declared the card variable outside the initializePaymentForm function because we're going to be using it in other parts of the code later.
Our initializePaymentForm function looks great, but now we need to call it somewhere to get our form set up. This is a perfect opportunity to use Vue's onMounted lifecycle hook.
This will execute our initializePaymentForm function when the page mounts. Because our initializePaymentForm function is asynchronous, I've added a small piece of state called loading that will capture the loading status of the payment form. We can then reference this variable in our template with the v-if directive to display a "Loading ... " message while the function executes.
Tokenize the payment method
Ok, so we've got our payment form all set up. Now we need to handle the payment when the form is submitted. To do that, there is another piece to this payment puzzle that we need: tokenization.
Payment tokenization is the process of taking sensitive payment information and replacing it with a nonsensitive-generated number called a token. We do this to protect the users’ payment information and add a level of security. If you’re worried about how to implement tokenization, don’t sweat it! Square takes care of this for you by providing a tokenize method that you can call on your payment method. Let's take a look at how we add this to our implementation.
This function may look a little intimidating, but it's really only doing one thing: getting a token. You can see that this function takes in a payment method and then calls the tokenize method to get back a token for that payment. The rest of the function is error handling in case the tokenization process fails for some reason. Provided there aren't any errors, this function returns the token that we need to send to our server to process the payment. Speaking of which, let's take a look at how we can do that now.
Send the token to the server
Ok, so now we have a way to tokenize our payment method. Let's go ahead and send that token over to our server where it'll be processed. We'll want to do this anytime a user submits the payment form by clicking our "Pay $1.00" button, so let's attach a function called handlePaymentMethodSubmission that we'll run on submit.
And now we can define that function as so:
The first thing we do in our handlePaymentMethodSubmission function is use the tokenize function that we just wrote to generate a token for our card. Then we use the useFecth composable to send a POST request to our payment endpoint and include our locationId and token in the body. If you're confused about what this payment endpoint is, you should be! We haven't written it yet! That's the next step in our payment pipeline, so let's go create that endpoint now.
Process the payment with the Payments API
Out of the box, Nuxt comes with support for server routes which allows us to create API endpoints for our app. To create an endpoint, we first need to create a folder called server and a folder called api within that folder. Finally, within our api folder, we need to create a file called pay.post.js. This folder structure creates an API endpoint with the path /api/pay and it's where we'll handle the POST request that we're sending from the client. Before we do that, though, we need to initialize the Square Payments API.
Square Payments API
Because we’re going to use the Square Payments API, we need to first install the Square Node.js SDK.
npm install square
With the SDK installed, we can import the Client from Square at the top of our pay.post.js file.
Now we can initialize the paymentsApi by providing an access token and environment type to the Client.
The value of your Square access token can be found in your Square developer dashboard, under your specific application.
We need to keep our access token hidden, so we’re storing it as an environment variable in a .env file.
Handle the request
Awesome! We’ve got all of our setup in place, so let’s go ahead and write our request handler function that will be responsible for processing the payment. In Nuxt, we do this with a function called defineEventHandler.
For an endpoint like this, Nuxt provides us access to an event object which we can pass to the readBody function in order to get the contents of the request body. In our case, that’s the locationId and sourceId.
With those values extracted, now we can use the paymentsApi to create a payment. Let’s pause here for a minute and take a look at everything we include in this call.
idempotencyKey: A unique string that identifies this request. To generate a unique string, we use therandomUUIDfunction from the Node.js crypto module. Don’t forget to import this at the top.sourceId: The ID for the source of funds for the payment. In our case, this will be the payment token that is generated by the Square payment form. We’ll provide this token in the body of the POST request.amountMoney: An object that defines the amount of money to be paid. In our case, we’re specifying the currency to be US dollars and the amount is in the smallest denomination of the currency type. So a value of 100 represents 100 cents or $1.00. We’re hardcoding this value for demonstration’s sake, but you can also send this value in the POST request for dynamic prices.
You can see all the options that you can pass to this method in the API reference.
Finally, after we await the result of creating the payment, we return the result back to the client.
Common pitfall
While our endpoint looks complete, if we try to create a payment now, we’ll encounter this error on the server: TypeError: Do not know how to serialize a BigInt. This error occurs because BigInt values aren’t serialized in JSON by default. To fix this, we need to define our own toJSON method to return a string.
Now our endpoint is complete.
Display the result
We're almost there, but there's one final piece I want to add in order to provide a more complete user experience. Our API endpoint sends a response back to our client, but our client doesn't do anything with that response yet. Let's add some functionality to report to the user whether or not the payment was processed successfully.
First, we'll create a variable called paymentStatus that will store a string indicating the status of the payment.
Now we can set the value of paymentStatus based on the response we receive from our POST request.
And finally, we can add this result to our template.
We’ll sprinkle in some CSS to style the payment status message as well:
#payment-status-container { width: fit-content; font-family: Arial, Helvetica, sans-serif; color: #ffffff; background: #1a1a1a; display: flex; padding: 12px; border-radius: 6px; box-shadow: 0px 1px 2px rgba(0, 0, 0, 0.1), 0px 0px 4px rgba(0, 0, 0, 0.1); margin: auto; margin-top: 36px;}
Now the page will provide feedback to our users on whether or not their payment was processed successfully.

Conclusion
So to recap, in this tutorial we covered the five steps required to build a complete end-to-end payment flow. We used the Square Web Payments SDK and the Square Payments API to accept and process a user’s payment. On top of that, all of this was wired together using Nuxt as our framework.
This is a great start, but there’s so much more you can do with the web payments SDK. We didn’t even go into additional capabilities like custom styling and digital wallets. This tutorial is meant to provide you with a solid foundation from which you can start to add additional features. We can’t wait to see what you build from here.
Authored By


