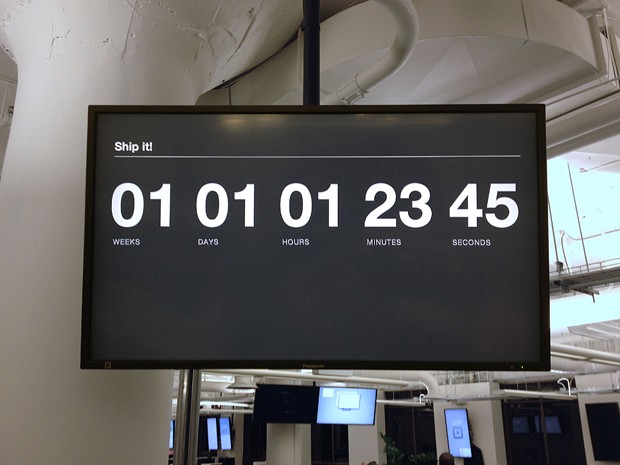
Inside a Square Inforad
A dive into the information radiators in use at Square.
Written by Sean Lazar.
At Square, we have inforads (information radiators) hanging all over the office. They display everything from up-to-the-minute metrics about our business, to software build and infrastructure statuses, and even the day’s lunch menu. Other inforads display bios and photos of our newest employees. With transparency core to our culture, it’s important that we can easily share information through inforads.

I’ll take you inside a Square inforad, and explain the setup and reasoning behind certain decisions.
The hardware consists of:
Panasonic TH-47LF20U LCD display Apple Mac Mini TRENDnet TU-S9 USB Serial adapter Display mounting hardware Galvanized straps, countersunk machine screws, nuts, and washers
We chose the Panasonic TH-47LF20U LCD display for a number of reasons. It’s made for digital signage — it has a small bezel, a large number of input ports, high resistance to burn-in, and full 1080p resolution. It’s reasonably priced. (As an added surprise, we later found a serial port can be used for setup and control — but I’ll talk more about that later.)
We chose the Apple Mac Mini for flexibility. Many of our visualizations use client-side javascript, like Cube, and need to run in a browser, like Chrome. A Mac Mini also made it easy to install and run various other software like Keynote. We did consider using Apple TVs, but they didn’t offer enough flexibility.
Another consideration was to put our display computers in a back-end machine room, but the cost and complexity of running full-1080p signal over a long cable without significant loss made the decision for us. Instead we hung one Mac Mini with each display. We drilled holes into the bottom cover and attached two galvanized metal straps with tapered machine screws, nuts, and washers. The galvanized straps are flexible and help create our Mac Mini “backpack” that hangs off the back of the display on the mounting hardware.

In anticipation of one of our office expansions, we knew we needed more inforads — and we needed to configure many displays in a short time frame. At first I tried emulating the panasonic remote using a computer controlled IR emitter, but that proved to be unreliable and problematic. Then I noticed that the Panasonic display had a serial port! I contacted Panasonic and they were able to give me some documentation on the serial commands. It turns out that you can do a lot with these commands. Pretty much everything available with the remote control was available by the serial port, including initial setup.
So I wrote some perl scripts.
panasonic-setup.pl sets up the display with the settings we want, making it extremely convenient. You connect a Mac to the HDMI 1 port, set your resolution to 1080p, connect up your serial adapter, and run the script. It sets the display language, day and time, and sharpness. The pixels are set 1:1, initial sound volume to 15, and initial port selection to HDMI 1. This script allows for very rapid setup instead of spending hours in front of displays with a remote control. Plus, it’s precise — something we strive for at Square.
tvpon.pl will turn the display on. We do this by a cron job in the morning. You will need to set “Standby Save” to “off (serial)” with the remote control for this to work.
tvoff.pl will turn the display off. We do this by a cron job at night to save power.
We also have proprietary command and control scripts that allow us to centrally control the Mac Mini, changing the displayed content, turning the display off at night, turning it back on in the morning, and going into “Stealth Mode” when guests are in the office. These are all accessible via a web interface.
An alternate option to drive the display would be to use a Raspberry Pi. These were not yet available when we first started this project, and would prevent us from running Mac software. Or you could drive it with an iPad and Panic’s Status Board.
What started out as a simple hack turned into something cool and useful. I hope this blog post will help you make eye-catching displays for your company.

