Applies to: Web Payments SDK | Payments API
Learn how to take card payments in a web client with the Web Payments SDK.
Use the quickstart sample project to set up a web application that is integrated with the Square Web Payments SDK for taking payments.
The following video demonstrates how to build an end-to-end payment flow with the credit card payment method and shows the code you use to build the flow. For an optimal viewing experience, expand the video window to a desired size or watch the video on YouTube. For a detailed overview of building with the card payment method, see the following sections.
To accept a card payment from a buyer, you need a web client where the buyer enters payment card information and a backend that takes a payment with the card. The SDK produces a secure single-use payment token based on the card. Your web client sends the payment token to your backend where the payment is taken. In summary, a payment is taken with these steps:
- Generate a payment token - Use the Web Payments SDK client library to render a card entry form and generate a payment token that your web client sends to your backend server.
- Create a payment with the token - On your backend, use the Square Payments API to create a payment.
You can find a complete example of the Card payment code on GitHub.
Important
If you're not familiar with building an application using Square's client-side SDKs, Square recommends completing the following steps using the GitHub project before you attempt to integrate the Web Payments SDK into your application.
The following shows the card payment method rendered in a web page:
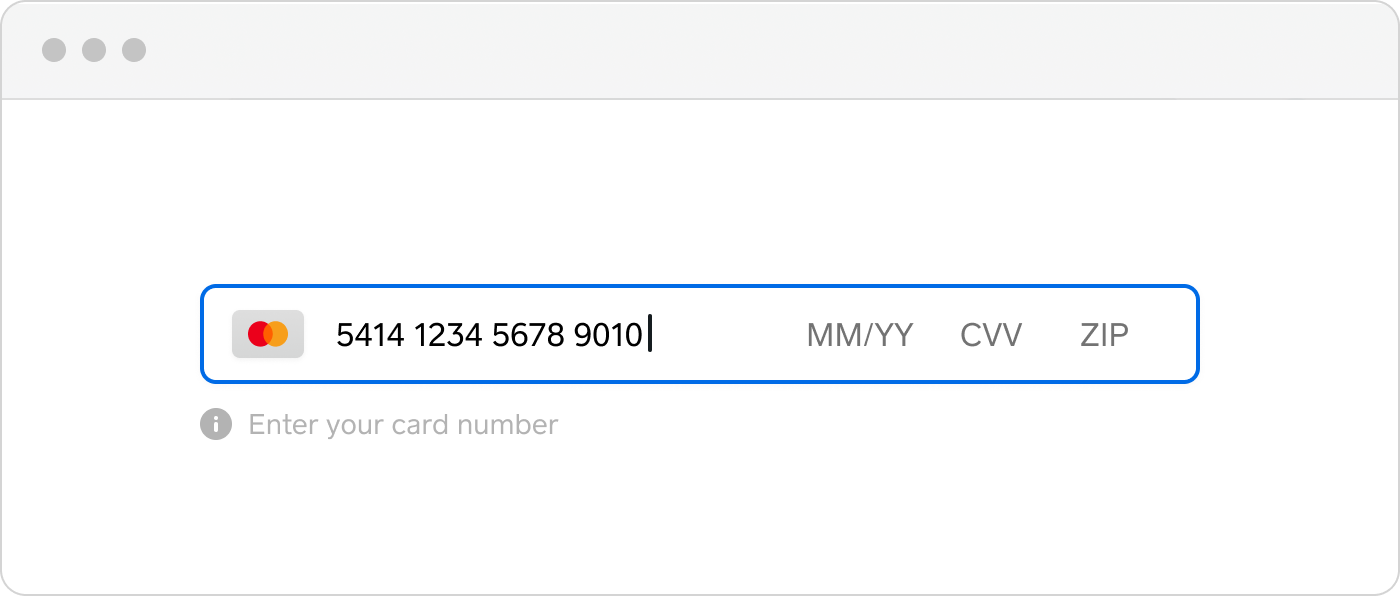
The payment method doesn't initially render input fields for the name or the billing address. When you initially set up the payment method, you don't need to include input fields for contact information (name and billing information). You only need to first set up payment processing with fields for the credit card number, expiration date, the CVV (card verification value), and if required for your region, a ZIP or postal code.
The form automatically recognizes the credit card type as soon as you enter the credit card number and updates the credit card icon as a result to reflect the type being used.
To request the buyer to provide contact information and other additional information for the payment, you can add additional payment form fields to the page layout.
Use the following steps to take card payments in a web client with the Web Payments SDK:
Clone the Quickstart Project Template - Learn how to clone the quickstart project template into a folder on your computer.
Add the Web Payments SDK to the Web Client - Learn how to get the web client ready to accept a payment card and send the resulting token to the server component of the quickstart application.
Verify the Payment - Learn how to view and verify the payment in the quickstart project using the Sandbox Seller Dashboard.
Add Strong Customer Authentication - Learn how to add the Strong Customer Authentication (SCA) security protocol layer to the application and verify the identity of the payment card holder.
Deploy the Application - Learn how to deploy the application with the quickstart project by completing the required deployment tasks.