To connect a Square Terminal with a third-party POS application, follow this guide to complete the following steps:
- Create a new device code.
- Perform the initial set up and sign in to a Square Terminal.
- Pair a Square Terminal with a POS application.
After you pair a Square Terminal, set up Terminal API webhook notifications and an OAuth flow so that you get notified of Terminal API events and establish access tokens for making checkout requests.
Completing these steps establishes the integration between the Square Terminal and the POS application. It also enables you to use the Terminal API for sending and receiving requests for payment checkouts and other processes.
After you establish the integration, see Take Payments with the Terminal API to learn about taking a payment with the Terminal API.
Before you start, make sure that you have completed the following tasks:
Your Square developer account allows you to host applications you can use with the Terminal API for your sellers in-person business. When you subscribe to webhook events, you receive notifications of Terminal API related activity that occurred.
After completing these tasks, create a new device code with the Devices API CreateDeviceCode endpoint.
Provide the following details in the device_code request body:
name- This is an optional property, but it is recommended to enter a name that identifies the system that the seller uses with the POS application and the Square Terminal.product_type- EnterTERMINAL_API.location_id- Enter the location ID that represents the seller's location.
Create device code
The response returns several fields, including:
- The friendly name you used in the request.
- The device pairing status, which is currently
UNPAIRED. - The device code to enter in the Square Terminal.
- The date and time on which the device code expires if not used.
{
    id: "1234567890",
    name: "Counter 1",
    code: "AFZEFB",
    status: "UNPAIRED",
    location_id: "NHT...CGJ",
    product_type: "TERMINAL_API",
    pair_by: "1970-01-01 11:10",
    created_at: "1970-01-01 11:10",
    updated_at: "1970-01-01 11:10"
}
Note
If a location ID isn't set in the request, the location_id response value is the default location ID for the seller.
After a device code is created, the seller must use the device code to sign in to a Square Terminal within 5 minutes. If the device code isn't used within 5 minutes, the device code expires and you must request a new device code. After the initial sign-in, you can reuse the device code to sign in to the same Square Terminal for subsequent sign-in attempts.
After a seller signs in to a Square Terminal with the device code, the status changes to PAIRED and the device_id value of the Terminal device is available. The device ID is the serial number on the underside of the Square Terminal.
When the seller signs in, the POS application is notified through a webhooks event notification.
Did you know?
The Square Sandbox doesn't support the Devices API. If you're testing a Terminal API application in the Sandbox, use a Sandbox device ID that simulates a Square Terminal from the list of Sandbox test values for the Terminal API instead of production device IDs obtained with the Devices API.
You must set up a new Square Terminal before use. If a previously used device is powered off, after turning it on, check for software updates that might have been missed while the Square Terminal was powered off.
- Power on the Square Terminal and connect it to your WiFi network.
- On the Square Terminal Sign in Page, choose Change Settings, choose General, and then choose About Terminal. If there are any pending software updates, update the Square Terminal to the latest version.
When a device code is available for the requested Square Terminal, a seller signs in to the Square Terminal using the following steps:
On the Sign in Page, choose the Device Code button.
Request a new device code by sending a POST request to v2/devices/codes.
Display this code to the person performing the setup.
Use the device code your application gathered.
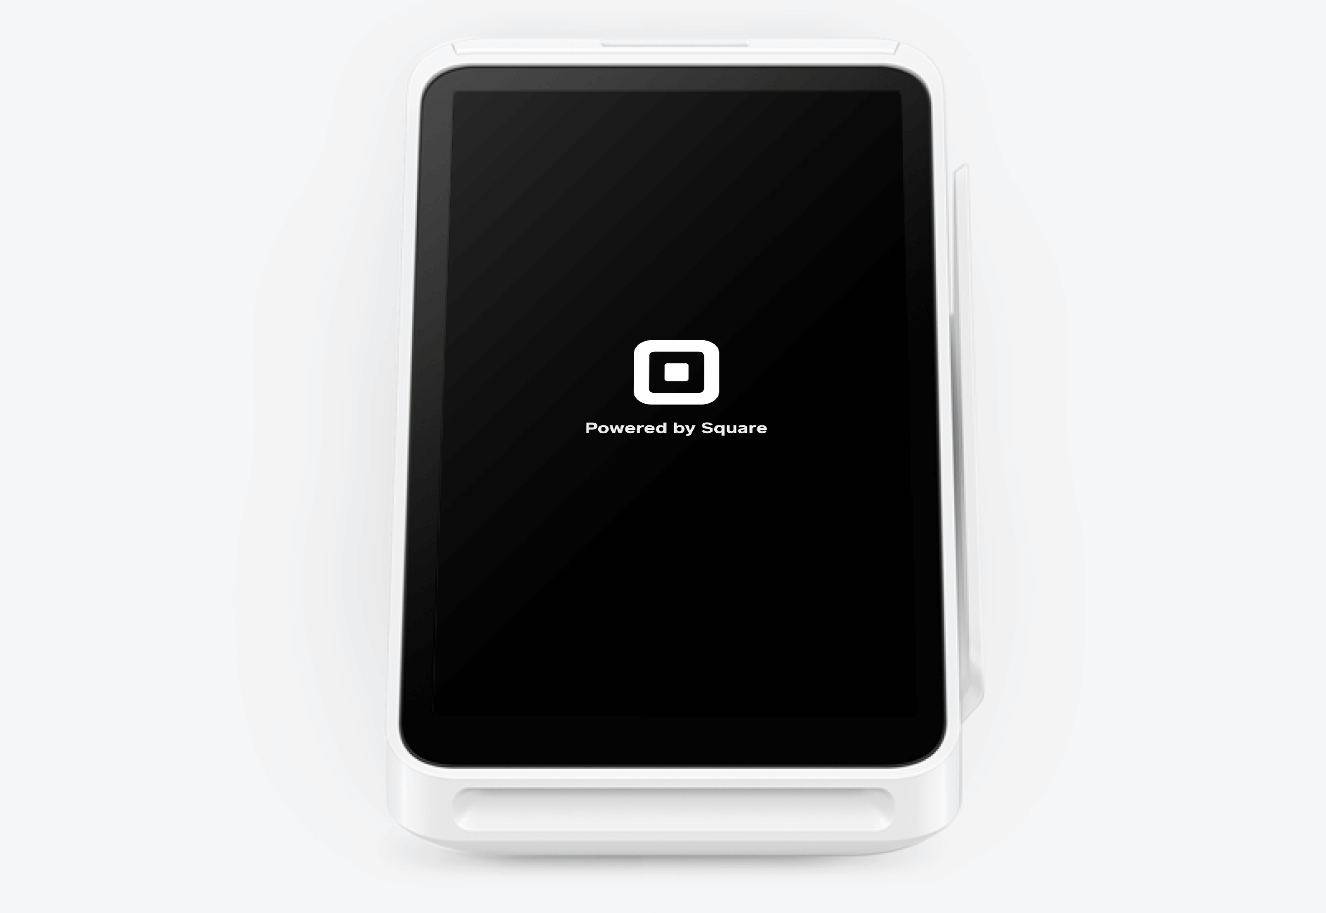
The Terminal screen should look like the following:
If your Square Terminal is paired with a POS application, you might want to sign out of the Terminal. Signing out lets you pair the Square Terminal with a different POS application or use the Square Point of Sale application.
- Swipe from the left side of the screen to open the navigation drawer.
- Choose Settings.
- Choose Sign Out at the bottom of the menu.
If you haven't set up your Square Terminal for testing code in development, you must complete the setup before proceeding with this topic.
A seller might have more than one location where Square Terminals are used. In this case, when pairing a Square Terminal, the seller should pick the location of the Square Terminal to be paired. Otherwise, the default seller location is used. Before a POS application can use a Square Terminal to check out a buyer, the POS application must be paired to a Square Terminal at either the chosen location or the default location.
Important
The Terminal API can only be used with device codes returned by the CreateDeviceCode endpoint. Other device codes, such as those created in the Seller Dashboard, aren't compatible with the Terminal API.
The pairing process involves the following steps:
- (Optional) The POS application uses the Locations API to present a location picker for the seller. If a location ID isn't set in the request, the default location is used.
- The POS application gets a device code from a CreateDeviceCode request.
- The seller enters the device code into the Square Terminal to sign in.
- The Square Terminal notifies Square that it's signed in using the device code.
- The POS application and Square Terminal are paired when the device code has been used to sign in to the Terminal.
- The POS application receives a webhook that shows pairing is enabled and provides a device ID to be used in checkout requests for the paired Terminal.
The seller can log in to the Square Terminal multiple times with the same device code, and the seller can reuse the device code to log in to the same Square Terminal.
After pairing the Square Terminal, set up webhook notifications and your OAuth flow.
Square sends webhook notifications with each status update for a Square Terminal pairing request and for a Terminal API checkout request status update. If you add listening endpoints for these webhook notifications, you avoid polling a Square server to get the current status of either request. The application webhook endpoint should listen for the following notifications:
device.code.paired- Notifies of a pairing completion.terminal.checkout.created- Acknowledges a new Terminal checkout.terminal.checkout.updated- Notifies of a checkout status change.
The webhook payload for device.code.paired is an instance of DeviceCode with the current state of the object.
The webhook payload for the terminal.checkout notifications is an instance of the TerminalCheckout whose properties have changed as the connected Square Terminal processes the checkout.
When you register the POS application with the Developer Dashboard, you get the access tokens needed to call Square APIs. For OAuth tokens, use the Developer Dashboard to test your OAuth flow in the Square Sandbox.
When you set up your OAuth flow, request the minimum permissions necessary to pair a Square Terminal and request a checkout. Doing so might increase adoption of the POS application and reduces your liability.
The following are the minimum permissions you need to request:
DEVICE_CREDENTIAL_MANAGEMENTMERCHANT_PROFILE_READPAYMENTS_READPAYMENTS_WRITE
When sellers sign in to an integrated POS application, they should be redirected to a URL as shown in the following example:
https://connect.squareup.com/oauth2/authorize?client_id=YOUR_APP_ID&scope=DEVICE_CREDENTIAL_MANAGEMENT,MERCHANT_PROFILE_READ,PAYMENTS_READ,PAYMENTS_WRITE
The Square authorization page asks sellers to accept the POS application request for the following permissions:
- Access to their Square Terminal credentials (
DEVICE_CREDENTIAL_MANAGEMENTpermission). - Access to their seller profile (
MERCHANT_PROFILE_READpermission). - Read/write access to payments in their Square account (
PAYMENTS_READandPAYMENTS_WRITEpermissions, respectively).
After the seller accepts the authorization request, the Square authorization page sends a GET response to the redirect URL that you specified for the POS application. For more information, see Receive Seller Authorization and Manage Seller OAuth Tokens.
Important
If you're building an application for accounts other than your own, use the OAuth API to generate tokens for each of your customers. Each customer creates and uses their own device codes to put their Terminal into Connected Mode.
Validate the webhook notification for device.code.paired.
The following example shows the payload of the webhook:
{
  "merchant_id": "6SSW...ST5",
  "location_id": "S8GW...3HF3",
  "type": "device.code.paired",
  "event_id": "d214f854-adb1-4f56-b078-4b8697a3187a",
  "created_at": "2020-02-15T04:38:13Z",
  "data": {
    "type": "device_code",
    "id": "bact:cgvL1yv43VFjexample",
    "object": {
      "device_code": {
         "id": "TQYQBS0P8B7AJ",
         "name": "Counter 1",
         "code": "TRXKEB",
         "device_id": "R5WNWB5BKNG9R",
         "product_type": "TERMINAL_API",
         "location_id": "S8GW...3HF3",
         "pair_by": "2020-03-20T19:49:19.000Z",
         "created_at": "2020-03-20T19:44:19.000Z",
         "status": "PAIRED",
         "status_changed_at": "2020-03-20T19:44:19.000Z"
      }
    }
  }
}The Devices API returns the current status of a device pairing with a GET command, as shown in the following example:
Get device code
If the device code hasn't expired, a response similar to the following example is returned:
{
  "device_code": {
    "id": "3YVR0WQ0VY6WG",
    "name": "Counter 2",
    "code": "QYXRJQ",
    "product_type": "TERMINAL_API",
    "location_id": "NHT82D0ENBCGJ",
    "pair_by": "2020-03-20T20:23:31.000Z",
    "created_at": "2020-03-20T20:18:31.000Z",
    "status": "UNPAIRED",
    "status_changed_at": "2020-03-20T20:18:31.000Z"
  }
}
Check the status of the device code. If it isn't PAIRED, you need to request the device pairing again. Keep checking until the device is PAIRED. When paired, the POS client can send Terminal checkout requests.
Note
Expired device codes aren't returned in the ListDeviceCodes and GetDeviceCode operations.